My BrewGround exploits are created for small batch brewing, using a 1 gallon BIAB process. There are also a few twists thrown in for good measure.
Update: This post will document my small batch BIAB process on a stove top. If that’s your setup, keep on reading, hopefully you’ll get something out of it.
I’ve also created a follow up to this post on my pilot batch process, using my eBIAB rig. Now this process will brew up a slightly larger batch, coming in at about 2 gallons, but you’ll still get a feel for an abbreviated small batch brew day.
For those of you not in the know, Brew In A Bag (BIAB) is a simple way of doing an all grain brew. Instead of mashing and then sparging in a separate Mash Tun, you do the mash in the same pot that you do your boil. The mash is done in a bag, typically made of nylon, with a weave pattern that lets water into the bag without letting the grains escape.
Side note, you can also use this bag in your normal Mash Tun, which is what I do for my all grain brews. No stuck sparges, easy clean up, an no need to buy a false bottom.
But wait, there’s more to my small batch 1 gallon BIAB process then just following the Brew In A Bag philosophy.
I’m all about looking for time savings. Spending 4 hours brewing up a 2.5 gallon or a 5 gallon batch is one thing, but I really didn’t want to invest that amount of time on a 1 gallon BIAB process for an experimental beer.
The guy’s over at Brulosophy created their Short & Shoddy series where they take massive short cuts in their brewing process. Given the results of the beers they review, I figured why not try to cut a few corners. I mean it’s just beer right?
Hence my BrewGround small batch 1 gallon BIAB process was born, saving me time while still giving me the results I’m looking for.
Small Batch Brewing: 1 Gallon BIAB Process
Once I decide what I want to play with, could be hops, grains, or yeast, I whip up a recipe and enter that into BeerSmith. I purchase the ingredients from my local Homebrew store and do some quick calculations for my water profile.
This is where my small batch 1 gallon BIAB process starts to differ from my standard all grain brews, as I’ll start to abbreviate a few things.
Gather my equipment
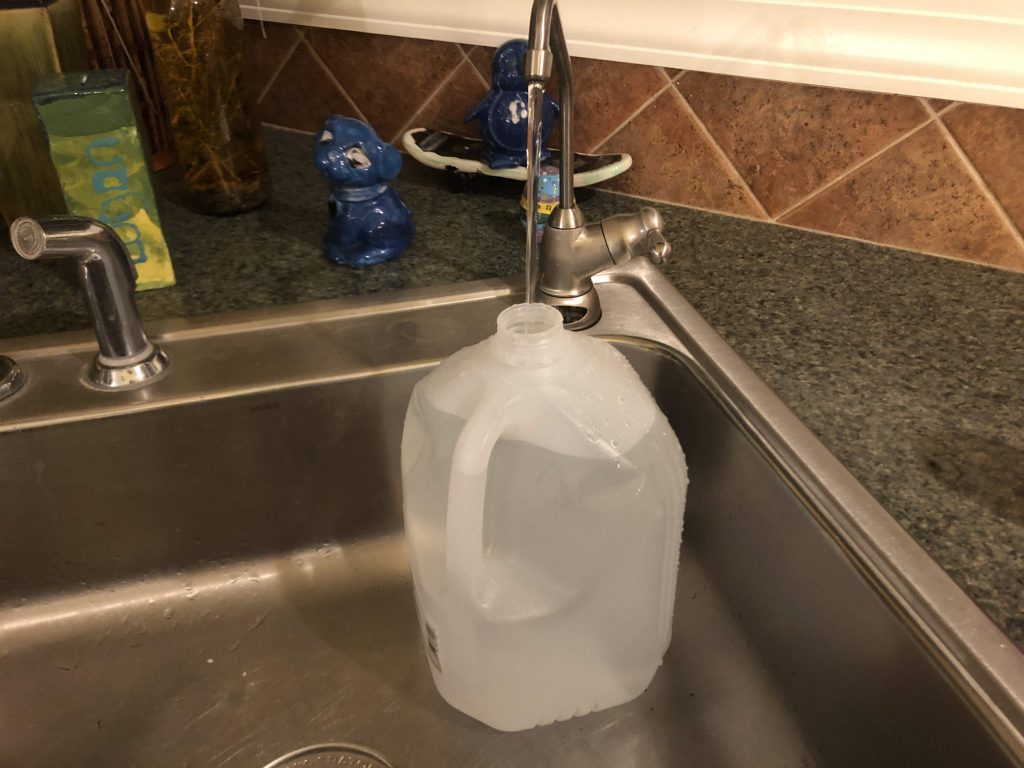
My prep work actually starts a few day’s prior to my brew day. I start to gather water from my whole house reverse osmosis system using some gallon water jugs I have on hand.
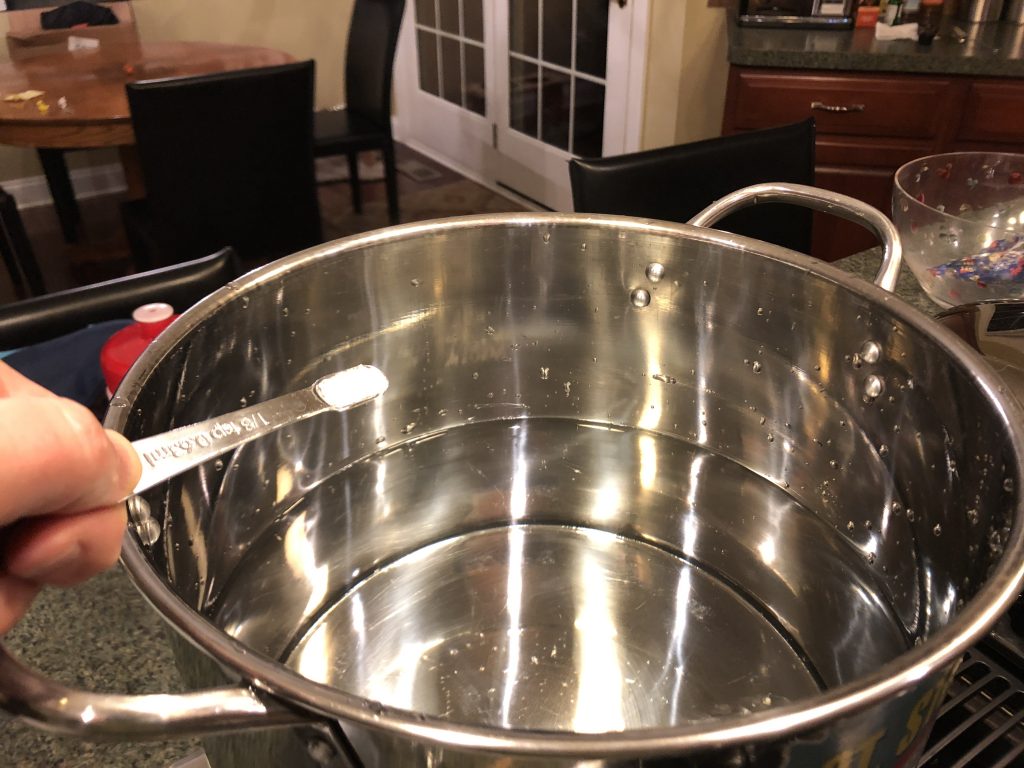
The night prior to my brew day, I’ll get my kettle and ingredients together to save me some time in the morning. I’ll also add the recommended salts and acid to my RO water.
Brew Day
On brew day, I’ll fire up the burner on my gas stove to start heating my water as soon as I get up. That way I can enjoy a cup of coffee and breakfast with the kids while my water is pre-heating.
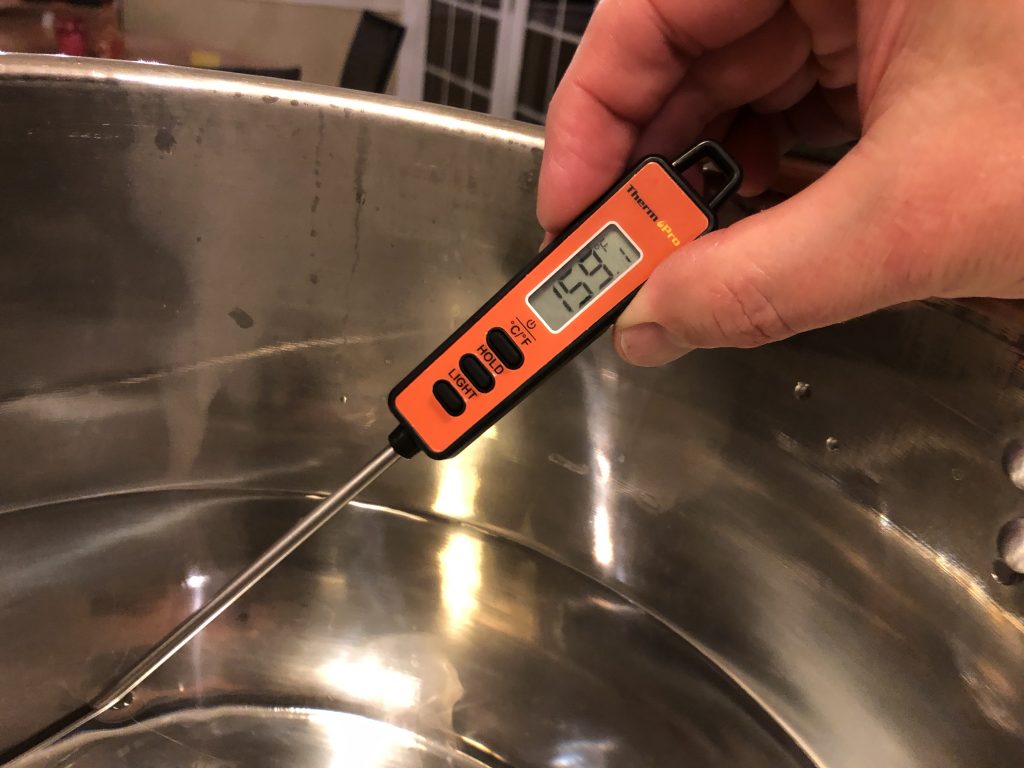
I use BeerSmith for all my recipe’s, and that will tell me the exact temperature I need prior to mashing.
Gather The Grains
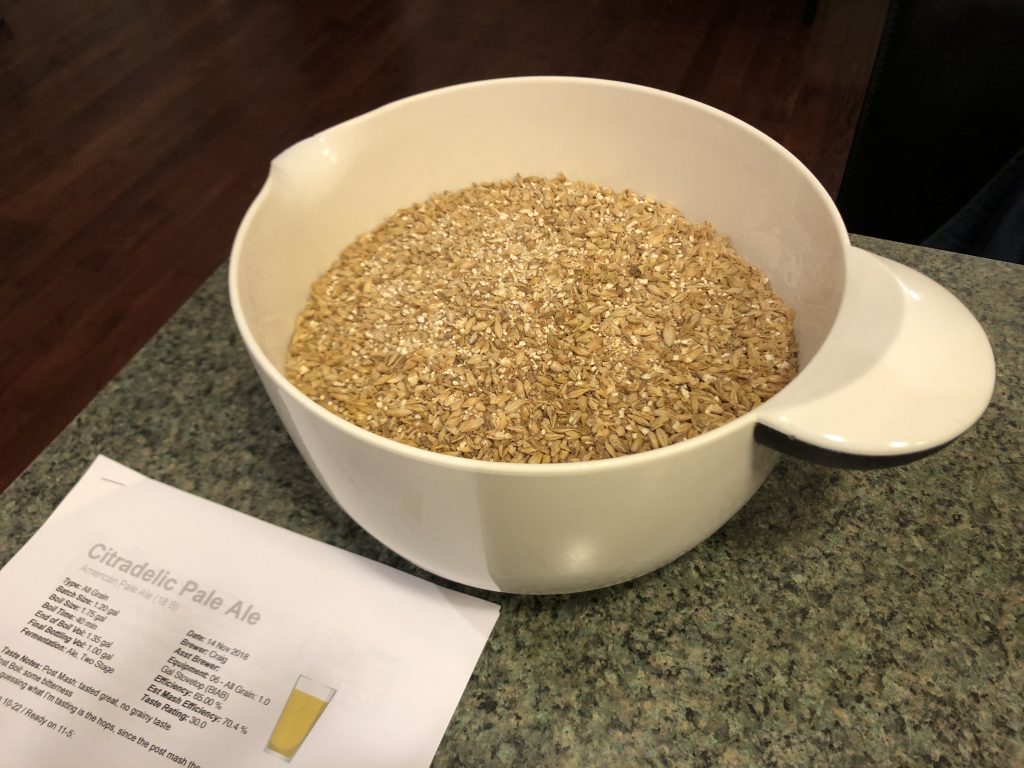
As I’m waiting for my water to pre-heat, I’ll gather my grains.
At this point I don’t crush my own grain. I’ve either purchased all the grains for my recipe from my local homebrew shop, which is all bagged and ready to go. Alternatively, if I happen to have some grain laying around from a previous purchase, I’ll weigh all that out per the recipe in BeerSmith.
Mashing (BIAB Process)
Once my water has reached my strike temperature, I place my brew bag in my 4 gallon pot and pour in the grains. I’ll give everything a good stir, and check my mash temperature for accuracy.
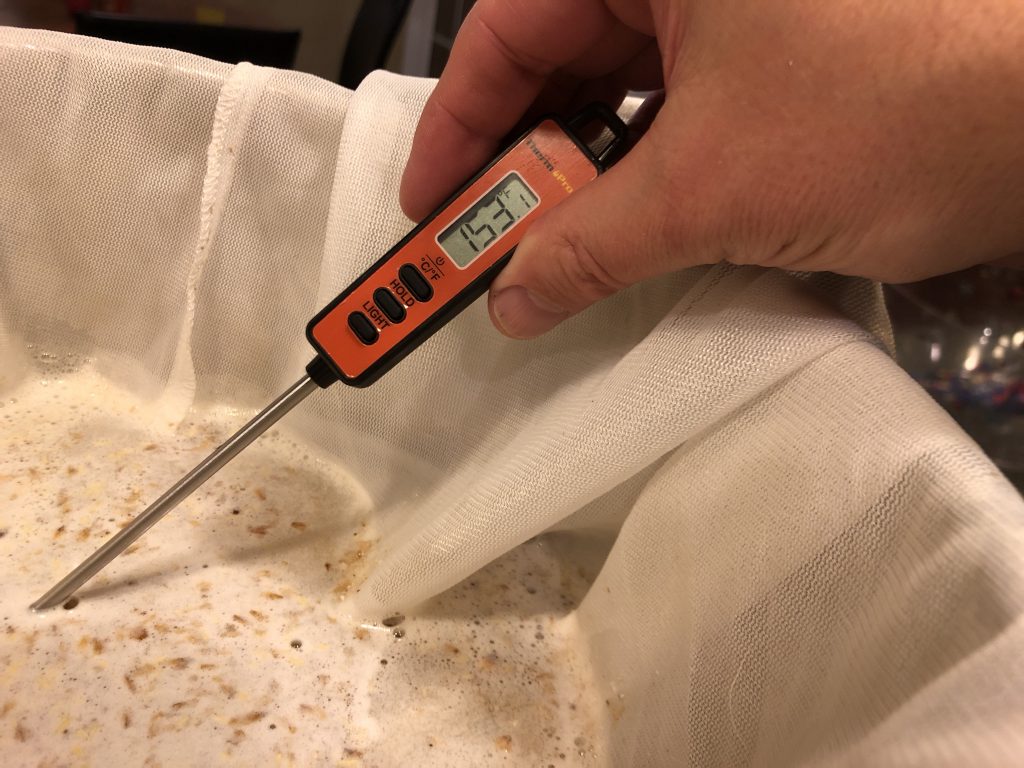
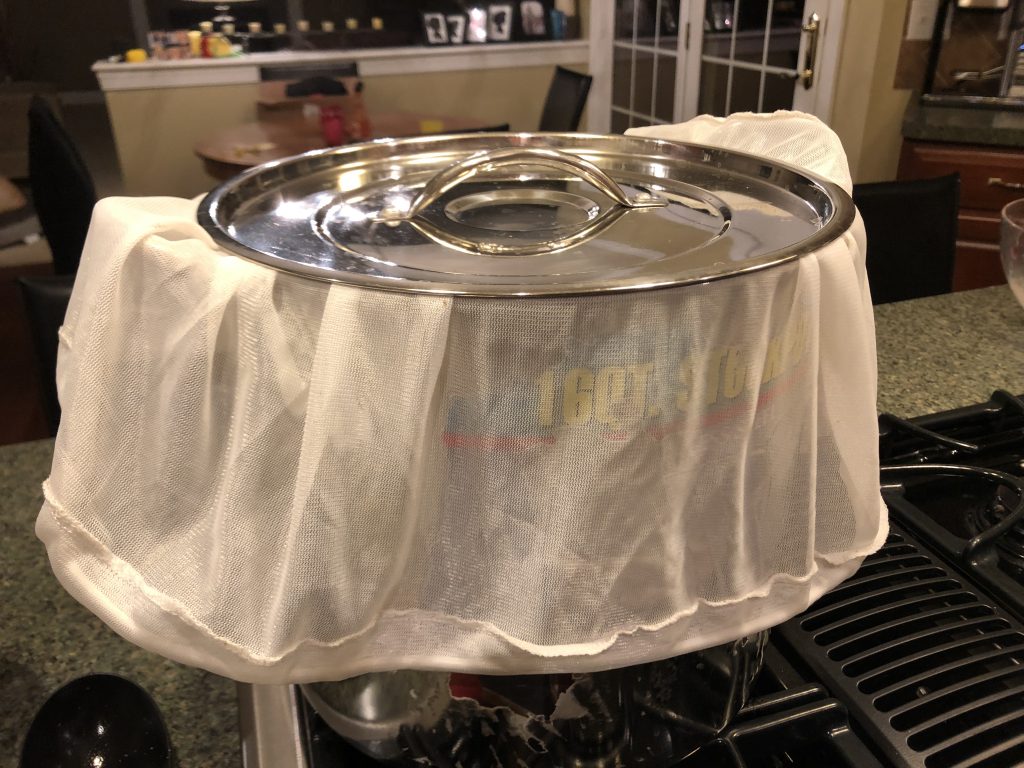
Given I’m using an older pot that isn’t insulated very well, I’ll often place the pot in my oven to help maintain my mash temperature. I simply pre-heat the oven to 130 degrees while I’m heating my water, and once it hits that temp, I’ll shut it off.
I’ll do an abbreviated mash of about 40 minutes, and tend to give it a good stir 2 – 3 times during my mash.
At the end of the mash, I’ll take a quick gravity reading to see if I hit the target that BeerSmith provides for me.
Boil
For my BrewGround, I only boil for 40 minutes. Since I’m doing smaller batches, boiling on our gas stove seems to work out well (especially helpful in those Michigan winters). I’m only boiling for 40 minutes to save some time in the overall process. I’ll adjust my hop additions in BeerSmith to achieve the desired bitterness I’m looking for, and that corresponds to the 40 minute boil.
Once a boil is achieved, hop additions are added per my recipe.
Cool Wort
After the 40 minute boil, it’s time to cool my wort. That’s where my economy wort chiller comes into play. I’ve been able to save a considerable amount of time in my brew day by using a wort chiller over the ice bath method that I originally started with.
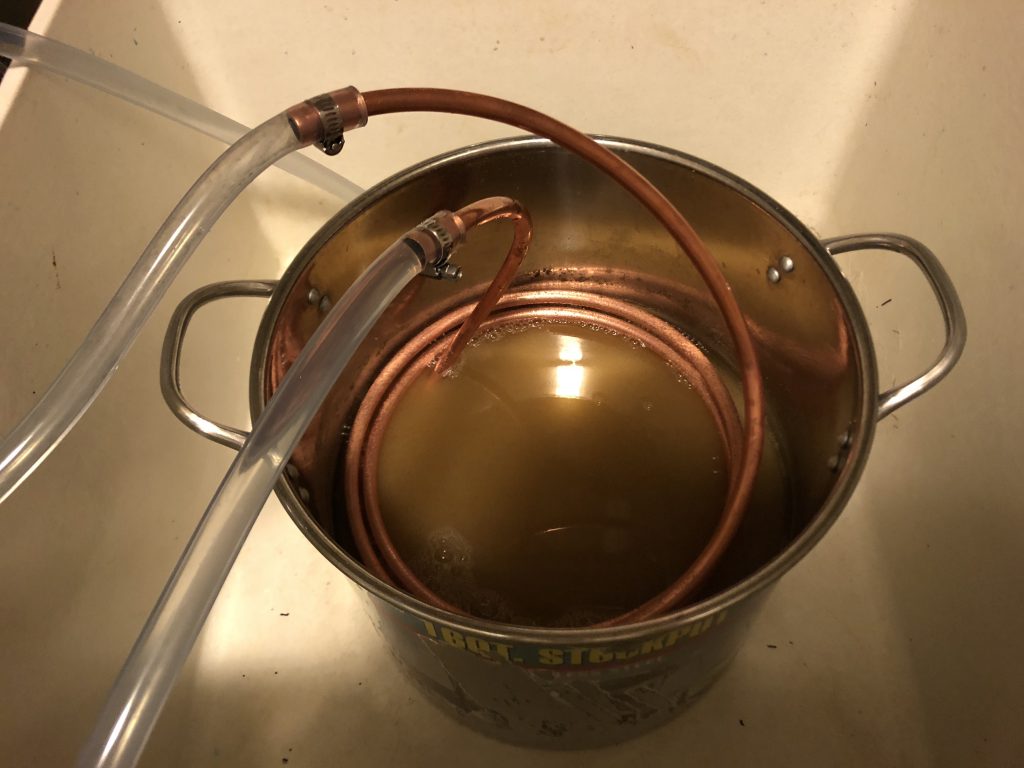
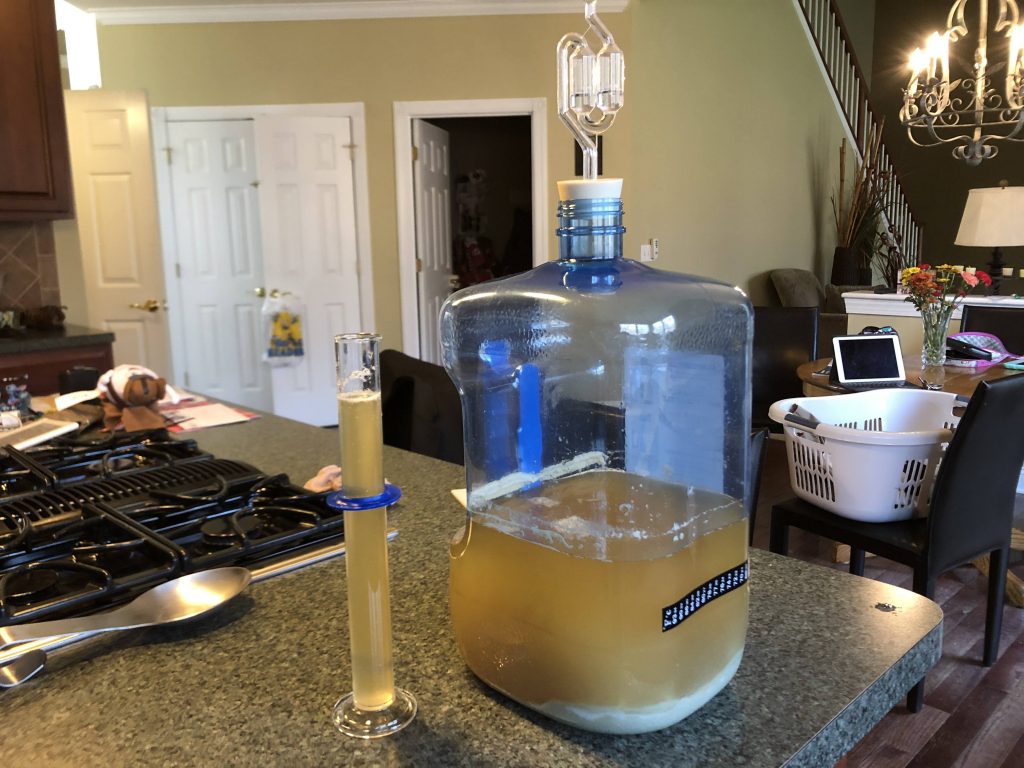
Once I’ve cooled the wort down to about 65 degrees, I pour most of the kettle into my makeshift carboy, a 3 gallon stackable water bottle that I picked up from Walmart. It’s perfect for my 1 gallon BIAB process.
Pitching Yeast
Safale US-05 by Fermentis is my go to yeast for my BrewGrounds, unless I’m trying to do a comparison on yeasts.
Why Safale US-05? Well first off it’s an American Ale yeast and a perfect fit for the beers I’m brewing as part of my BrewGround. Second, it’s cheap and easy to use. I can easily get 2 – 3 BrewGround batches out of a single packet of yeast, and I don’t need to make a yeast starter. I’m trying to save time and keep things simple.
BeerSmith tells me exactly how much of the yeast packet to use for my smaller 1 gallon BIAB process. If I’m rehydrating, it will also tell me how much water I’ll need to add the yeast to.
Fermentation
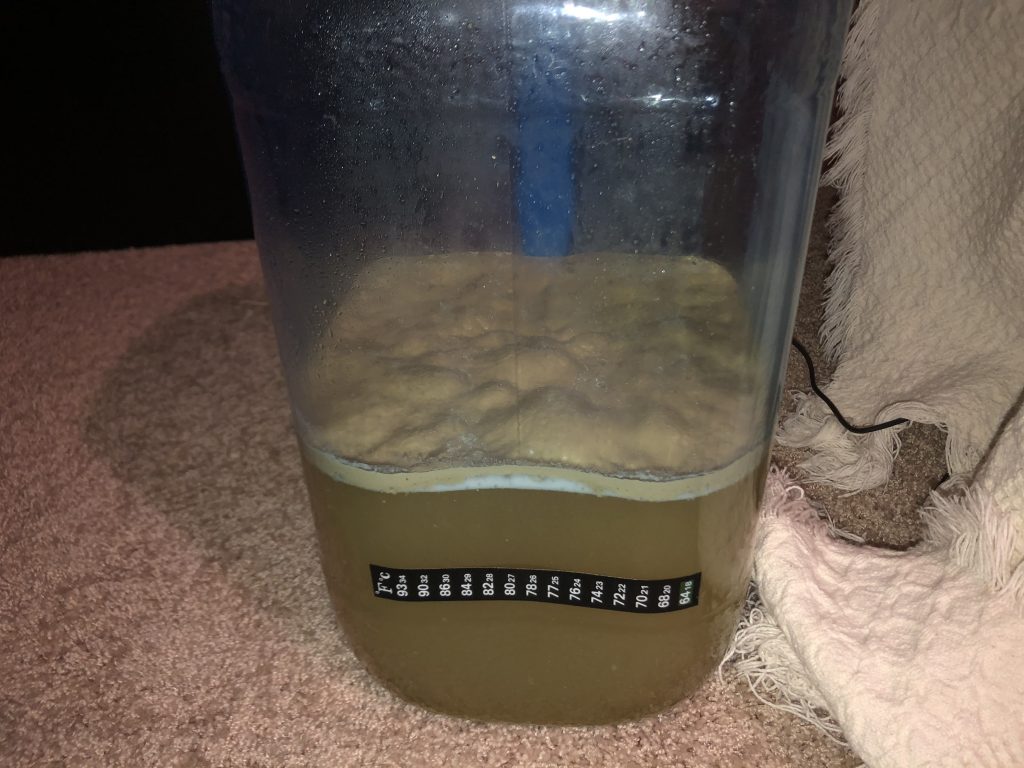
After pitching the yeast, the bucket or carboy goes into my cool basement where I’ll let it ferment for about 7 – 10 days.
I seem to have the opposite problem that a lot of homebrewers have. My basement maintains an ambient temperature in the low 60’s throughout the year. I need to apply heat to the primary fermenter to maintain a slightly warmer temperature as I’m looking to ferment right around 65 degrees. Once activity stops in the airlock, I’ll bump the temp up to 68 – 69 degrees to let the yeast clean up after themselves.
I’ve got a kludgey setup using a small space heater that works fine for me right now. Once I convince my wife I need a small chest freezer for a fermentation chamber, I’ll plan on upgrading.
Packaging
For the time being I bottle my 1 gallon BIAB batches. I can’t justify taking up a 5 gallon corny keg with a gallon of beer.
Edit: I now keg all my beers, including these small batches. No need to package in a 5 gallon corny keg, when there’s smaller kegs available.
Once I get my new kegerator set up, I’ll purchase some smaller kegs so I don’t have to waste my time bottling.
I create my priming sugar solution using the priming calculator on Brewer’s Friend, and pour that into another makeshift bottling bucket that I purchased from Walmart. After a quick check of my final gravity, I rack the beer into the bottling bucket and bottle.
I’ll let the bottles condition at least 3 weeks, as I’m usually not in a huge hurry to try these beers. I use this 1 gallon BIAB process to showcase hops or malt characteristics, so I’d rather give the beer time to do it’s thing.
Time Savings
I do save time when using the 1 gallon BIAB process over my standard all grain process.
While it typically takes me 4 hours to brew using my all grain technique, I seem to come in at just under 3 hours using the 1 gallon BIAB process. That’s a time savings of 25% which I’ll take. I do notice that I’m getting more efficient every time I brew using this Brew In A Bag process, so I’m hoping to get this closer to 2.5 hours as I get more brews under my belt.
The big time savings I’m finding is in the mashing and boiling process, as I’ve been able to shave close to an hour off my standard times. Not only do I boil for less time, it takes less time to bring that smaller volume of water to a boil using my gas stove top.
Beer Quality
Has the quality of my beer suffered using this small batch 1 gallon BIAB process? Not that I can tell.
You have to remember, the whole focus of my BrewGround is to analyze what impact a certain ingredient is having on the beer I brew. So I’m not necessarily looking for a world class beer that I can enter in a competition.
This 1 gallon BIAB process has suited me well, as it’s given me an opportunity to sample a number of different hops, and educated me along the way.
Cheers…
Leave a Reply