If you are just getting into all grain brewing, you’ll want a guide to get you started, a beginners guide to all grain brewing if you will.
My first attempt at all grain brewing was a mess. I actually tried to do a partial mash, which is about as close as you can get to all grain brewing, without being 100% all grain. To date that’s the only beer I’ve had to dump.
There were a lot of things going on that in hindsight I wasn’t quite ready for. So I spent the time pouring through web sites and videos trying to understand what went wrong, and what I could do to rectify the situation.
This is why I came up with my Beginners Guide To All Grain Brewing, something new homebrewers could use to get started with all grain brewing.
Warning: This is a pretty massive post. If you are looking for an abbreviated read, you can skip to the end and download my Beginners Guide To All Grain Brewing checklist.
Beginners Guide To All Grain Brewing
There’s a number of options you can use when doing all grain brewing. This beginners guide to all grain brewing attempts to give you options that make sense for your situation. You can simply pick the path that you want to follow, and use this as your guide through the all grain brewing process.
Our beginners guide to all grain brewing will lay out the following options:
- Brew In A Bag (BIAB)
- Mash With Batch Sparge
- Mash With No Sparge
Both mash options will assume you’ll mash in a bag (MIAB). Mashing in a bag is a great way to get started with all grain brewing if you don’t want to brew in a bag. In my opinion, mashing in a bag is also less complicated. It helps to avoid some problems using a traditional mash tun with a false bottom.
While there are many other options to use, those are beyond the scope of this beginners guide to all grain brewing. Suffice to say, any of the above 3 options can produce a great beer.
Terminology
Before we get too far into our guide, I should probably explain a few terms that we’ll be using throughout this beginners guide to all grain brewing.
Mashing
The process of soaking your grains in water to extract the sugars (sweet wort) that will be converted to alcohol by the yeast. This sweet wort is then transferred to the brew pot to boil.
Sparging
The process of rinsing the grains with water after the mash is complete. This will extract as much of the sugars as possible that haven’t been extracted from the mash step.
There are different ways to sparge, and this step is completely optional.
Brewhouse Efficiency
A measure of how efficient your overall process is. A key component to brewhouse efficiency is the amount of sugars you are able to extract from the grains as part of your mash and sparge.
Sweet Wort
The collection of sugary liquids that results from the mash and sparge processes. The sweet wort is added to the boil kettle and combined with the hop additions to produce wort that the yeast will convert to beer.
All Grain Brewing Options
Once you’ve decided to make the leap to all grain brewing, you’ll want to decide what process you should follow. There’s nothing stopping you from making a switch from one all grain brewing option to another once you start gaining some experience.
The beauty with this beginners guide to all grain brewing, is you’ll have everything you need to make that switch if that’s something you decide to do.
There is one major difference you’ll find between extract and all grain brewing. With extract brewing you typically do a partial boil. That is, you boil with a partial volume of water and top off with water after the boil is complete to achieve your final volume. With all grain brewing, you’ll be doing a full volume boil.
Each of the options in this Beginners Guide To All Grain Brewing assume a full volume boil.
Brew In A Bag (BIAB)
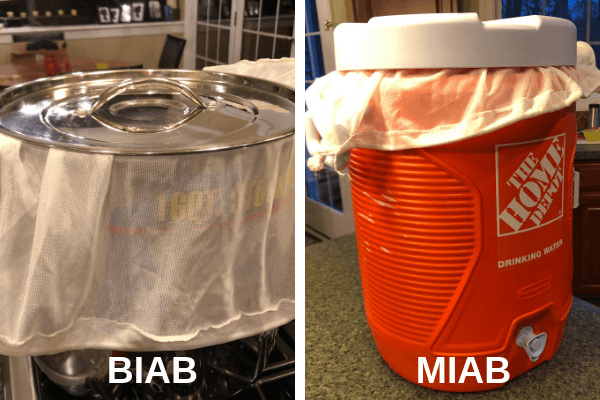
Brewing in a bag is by far the simplest approach to all grain brewing, and is done using a single vessel that is used for both the mash and boil. There is no sparge.
Mash With Batch Sparge
In this approach you will mash your grains in a separate mash tun, typically some type of cooler that will help to retain heat during the mashing process. The cooler will consist of a false bottom that will allow you to drain the sweet wort after the mash, and will keep the grains within the cooler.
You can also mash in a bag, which will avoid having to purchase a false bottom for your cooler. This is similar to The Brew In A Bag process, but you mash in a cooler vs. the brew pot.
The second step is to do the sparge. Once your mash completes, you drain the sweet wort from the cooler, and add additional water to the grains to rinse them of any residual sugars. This step will in theory help to improve your Brewhouse Efficiency.
Mash With No Sparge
Very similar to the mash with batch sparge process, but you forgo the sparge step. You will use the full volume of water in the mash, and once completed, add that sweet wort to the boil kettle.
The no sparge process is becoming more popular as it will save you some time on your brew day. The net impact is you could take a slight hit on your brewhouse efficiency with the no sparge process. However, this can easily be rectified by increasing the amount of grains in your mash.
Do You Have The Right Equipment For All Grain Brewing
Before we get too far into this Beginners Guide To All Grain Brewing, we’ll want to ensure you have the right equipment. As all grain brewing is a bit more complicated then doing an extract brew, there’s a few additional pieces of equipment that you’ll want to have on hand.
Having the right equipment can be as simple as purchasing a brew bag to use with your existing pot if you plan on doing a Brew In A Bag (BIAB) process. The alternative, and more advanced approach, is to do a full mash and sparge in a separate mash tun. We’ll explain the mash and sparge process a bit later.
Here’s the equipment you’ll need for each of these all grain brewing processes (in addition to what you already have on hand):
Brew In A Bag (BIAB)
- Boil Kettle (large enough to accommodate a full volume boil)
- Brew Bag
- Thermometer to monitor mash and sparge water temperature
- Mash Paddle or large enough spoon or whisk to stir your mash
- If you want to go totally crazy, you can go with an eBIAB setup
Mash With Batch Sparge
- Boil Kettle (large enough to accommodate a full volume boil)
- Mash Tun (a 5 gallon Igloo Cooler can get you started)
- False Bottom or Brew Bag
- Thermometer to monitor mash and sparge water temperature
- Mash Paddle or large enough spoon or whisk to stir your mash
A few notes. While a 5 gallon cooler is sufficient for me with my small batches, if you plan on brewing a full 5 gallon batch, you’ll want to spend the extra money and go with a 10 gallon cooler.
The false bottom is a screen that goes in the bottom of the cooler, and has a hose that connects to the spigot of the cooler. This will keep the grain from plugging the spigot and out of your wort.
The alternative to a false bottom is to simply use a brew bag as you would with the Brew In A Bag process. The brew bag acts as a false bottom, and keeps the grains inside the bag. This is also known as Mashing In A Bag (MIAB).
Mash With No Sparge
- Same as the Mash with Batch Sparge
The assumption is you already have the other necessary equipment from your extract brewing adventures. If not, you’ll also need to ensure you have the following:
- Fermenter
- Funnel
- Siphon
- Hydrometer / Test Tube
Brewing Tools
Before you jump into your first all grain brew day with this Beginners Guide To All Grain Brewing, it’s going to help to plan things out in advance. As you would with extract brewing, you’ll want to figure out what beer you plan on making, as that will determine the grain bill, hops, and yeast you’ll need to purchase.
I would also suggest using some software, as that will make your life loads easier when it comes to designing your recipe. One of the best pieces of software on the market is called BeerSmith, and seems to set the bar when it comes to brewing software. While you can download a free trial, you’ll have to pay the subscription fee if you plan on using it for more then 14 days. You can run BeerSmith on both the Windows and MAC platforms.
Another software option is called Brewer’s Friend. This is a cloud based recipe builder that is accessed from your browser. They are constantly making improvements to this, and has functionality that is very similar to BeerSmith. Brewer’s Friend is free to use, although you are limited to 5 recipes. I actually prefer the user interface of Brewer’s Friend, and find that it’s easier to use then Beer Smith (although I do use that latter).
Guide To All Grain Brewing
Now that we’ve got all of that out of the way, lets get into the meat of our Beginners Guide To All Grain Brewing.
I’ll break apart each piece of the brewing cycle, and lay out the steps for the three all grain brewing options we’ve previously touched on:
- Brew In A Bag
- Mash With Batch Sparge (I’ll assume we are mashing in a bag)
- Mash With No Sparge
There are a number of steps that I’ll document as optional in this Beginners Guide To All Grain Brewing, and I’ll be sure to mark those as such. They are optional because they are just that, you don’t need to do them. Will they make a better beer if you do them? Maybe. But you can make a fine beer without going through these optional steps. So the choice is yours if you want to follow them or not.
Designing Your Recipe
Using your software of choice, lets design the recipe. If you’re just getting started, I would suggest finding an existing recipe to use, or one that you can tweak to your liking. Both BeerSmith and Brewer’s Friend have options for you to search a recipe database in the cloud, and download that recipe to use.
Once you’ve found a recipe, and imported it into your tool of choice, we should make a few changes to align it to your process. Each of these tools allow you to configure your brewing profile, which will adjust your boil off rate as well as set your default efficiency for the process you are using.
You’ll find that it will take you a few times of brewing to hone in your brewing profile. For now, I would suggest you keep your Brewhouse Efficiency number to under 70%. This percentage is going to help calculate how much grain you need in your recipe in order to get to your targets on Original Gravity (OG), Final Gravity (FG), as well as Alcohol By Volume (ABV).
One you’ve adjusted your grain bill to get to the Original Gravity (OG) desired, you’re ready for a trip to the home brew store.
Yeast Starter (Optional)
If you plan on making a yeast starter, you’ll want to get this going at least 24 – 48 hours before your planed brew day.
What’s a yeast starter? A yeast starter ensures you have enough viable yeast for the beer you are brewing.
Most yeast manufacturers will tell you a single packet of their yeast is sufficient for brewing a 5 gallon batch. The one downfall to this, you could be under pitching the amount of yeast required for fermentation, which could lead to some off flavors in your final product.
Building a yeast starter isn’t really that difficult.
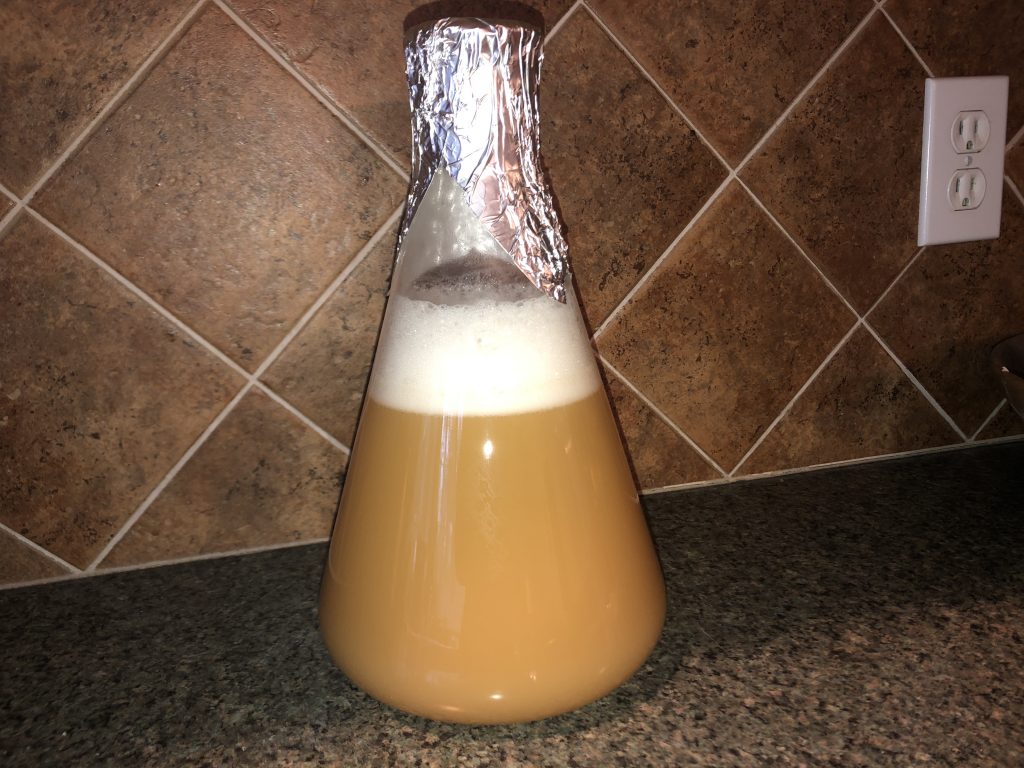
You’ll need some Dry Malt Extract, a packet of yeast, and a flask or some other vessel to allow the starter to begin fermentation.
Simply boil the required amount of Dry Malt Extract in the appropriate amount of water for about 5 minutes. How do you know how much malt extract and water to use? By using a yeast calculator of course. <insert link>
After cooling to 70 degrees or so, transfer this wort to your flask and pitch the yeast. Set the flask on your kitchen counter, covered or with an air-lock, and give the flash a gentle stir every so often.
After a minimum of 24 hours, you can pitch these contents directly into the wort that’s in your fermenter.
Brew Day
Once you have all the ingredients you’ll need, we can start brewing following the steps in our Beginners Guide To All Grain Brewing. You’ll want to ensure you’ve set aside a minimum of 4 – 5 hours for your first all grain batch. You don’t want to be stressing about how long this is going to take.
Water Chemistry (Optional)
Based on the brewing software you’ve elected to use, it will tell you how much water you’ll need for both the mash and sparge steps.
I’m calling this an optional step, because you can truly use any good drinking water to brew your beer. However if you are looking to brew a good or great beer, you need to pay attention to your water profile.
This can be a somewhat complicated topic, and many homebrewers opt to not do this because they view it as overly complex. It really doesn’t have to be, if you understand the basics of water treatment.
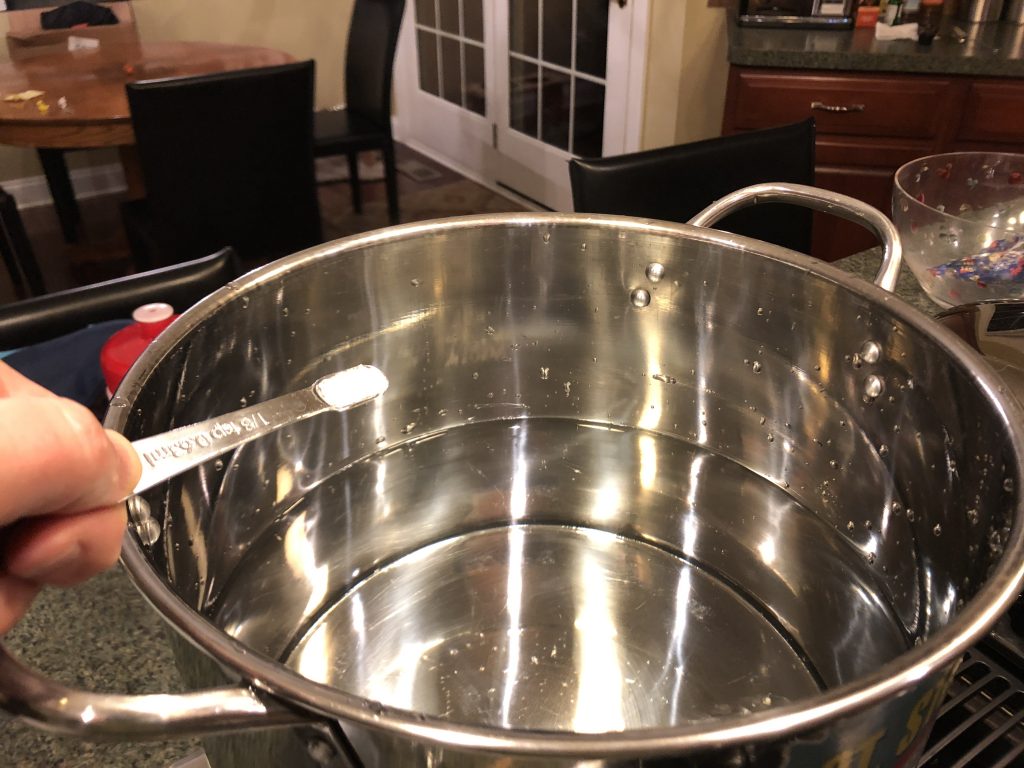
Chances are that the brewing software you are using, has the functionality to address water chemistry for the beer you are using. Use it. Based on the amount of water in your mash or sparge, it will calculate the amount of “salts” to use for the particular type of beer you are brewing.
The Mash
The mash process will convert starches to sugar that our little yeast can feed on. The output of this step is the sweet wort that will be used in the boil to produce the wort.
Based upon the process you are using, select one of the following Beginners Guide To All Grain Brewing steps.
Brew In A Bag (BIAB)
Bring the full volume of water in your brew pot to the strike temperature calculated in your brewing software. This is the temperature of the water prior to adding your grains.
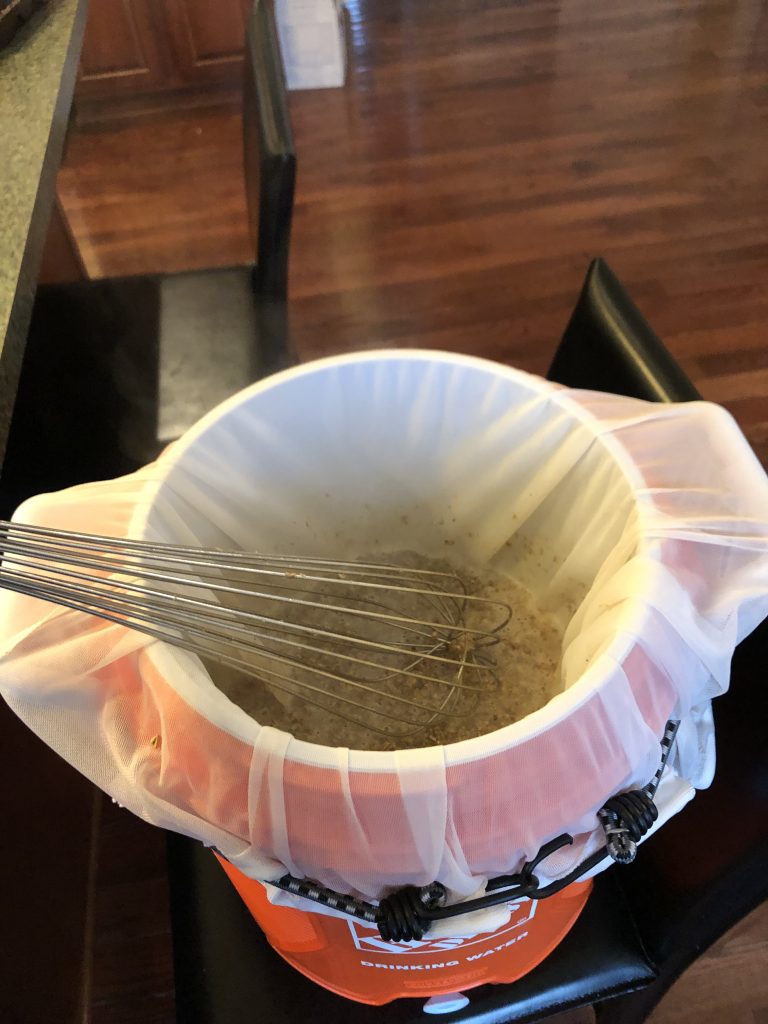
Place your brew bag in the pot, and begin to add your grains. Add a portion of the grains at a time, and stir in well using a mash paddle or whisk. This will help to prevent dough balls from forming, which will take away from your efficiency.
Once all the grains have been added, give it a good stir. Put your top on the brew pot, and cover with blankets or towels to insulate as much as possible.
Mash for 60 minutes, giving the grains a stir 2 – 3 times during the mashing process to improve your efficiency as much as possible.
There’s no need to transfer your sweet wort over to a brew pot, because with BIAB, you are mashing in your brew pot.
Mash With Batch Sparge
Bring the volume of mash water in a brew pot to the strike temperature calculated in your brewing software.
Transfer / Pour that heated water to your mash tun for the mash.
If you are mashing in a bag (MIAB), place your brew bag in the cooler, and begin to add your grains. Add a portion of the grains at a time, and stir in well using a mash paddle or whisk. This will help to prevent dough balls from forming, which will take away from your efficiency.
Once all the grains have been added, give it a good stir. Cover your mash tun, and insulate with blankets as much as possible.
Mash for 60 minutes, giving the grains a stir 2 – 3 times during the mashing process to improve your efficiency as much as possible.
Once complete, transfer your sweet wort over to your brew pot.
Mash With No Sparge
Same as the Mash With Batch Sparge…
Bring the volume of mash water in a brew pot to the strike temperature calculated in your brewing software.
Transfer / Pour that heated water to your mash tun for the mash.
If you are mashing in a bag (MIAB), place your brew bag in the pot, and add your grains. Add a portion of the grains at a time, stir well using a mash paddle or long handled whisk. This will help to prevent dough balls from forming, which will take away from your efficiency.
Once all the grains have been added, give it a good stir. Cover your mash tun, and insulate with blankets as much as possible.
Mash for 60 minutes. Give the grains a stir 2 – 3 times during the mashing process to improve your efficiency as much as possible.
Once complete, transfer your sweet wort over to your brew pot.
The Sparge
The sparge process will rinse as much of the leftover sugars from the grains as possible. While this step is optional, it can help to increase your efficiency numbers. The output of this step is additional sweet wort that will be added to your brew pot to achieve your full volume.
Based upon the process you are using, select one of the following steps.
Brew In A Bag (BIAB)
With the BIAB process, sparging is not required. You already have the full volume of sweet wort in your brew pot.
Simply remove your grain bag, and hold it above the brew pot to let it drip as much as possible. You can even give the bag a gentle squeeze to get as much of the sweet wort out of the bag as possible.
Mash With Batch Sparge
After transferring the sweet wort over to your brew pot, you’re ready to sparge.
Add the required volume of heated sparge water to the grains, and give them a good stir. Cover your mash tun, and let sit for 5 – 10 minutes. Give another stir, and transfer to your boil pot.
That’s it. You should now have your full volume of sweet wort in your brew pot, and you are ready for the boil.
Mash With No Sparge
As the name implies, the Mash with no sparge process does not require sparging. This is very similar to the BIAB process where you’ve mashed with the full volume of water.
You are ready for the boil.
Boil, Chill, Pitch
The final step in our Beginners Guide To All Grain Brewing is the boil. Chilling the wort as quickly as possible, and pitching your yeast is key to avoid off flavors. If you are coming from extract brewing, the process is the same at this point.
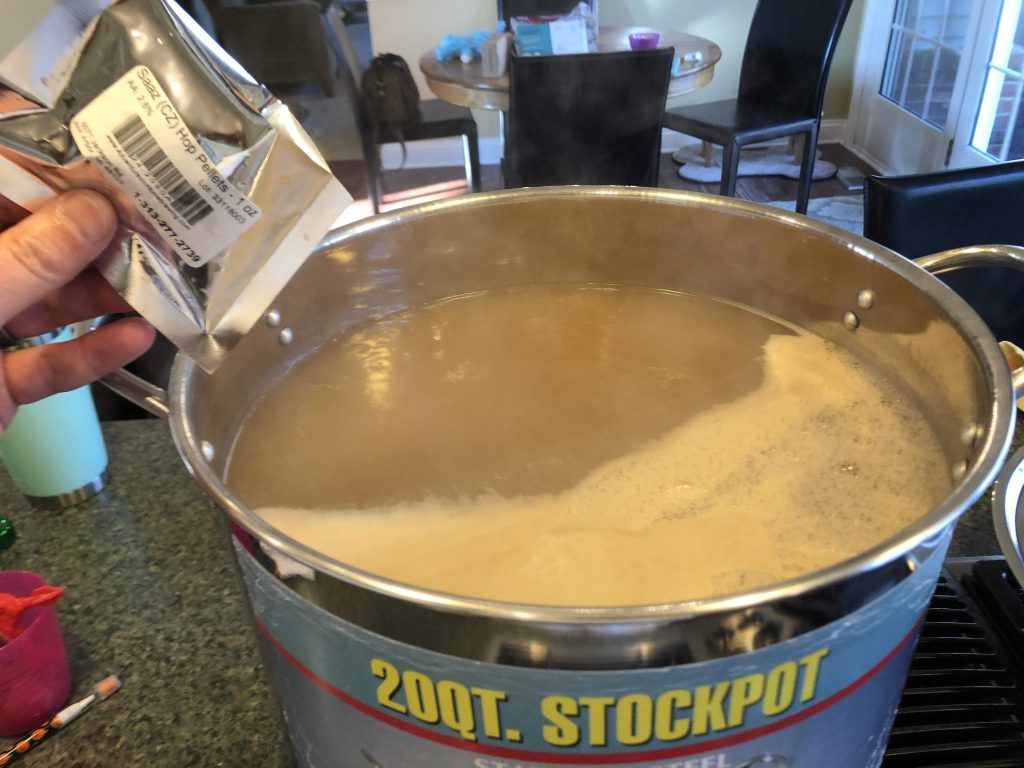
- Boil for 60 minutes (or for however long your recipe requires)
- Add your hops at the required timing (make sure you have the right hop combinations)
- Cool the wort as quickly as possible
- Transfer the wort to your fermenter
- Pitch your yeast
Here’s a great resource that will walk you through those steps.
Wrapping Up Our Beginners Guide To All Grain Brewing
You’ve just completed your first all grain brewing batch.
It’s really not to difficult provided you’ve got the right equipment. The hardest part is getting your routine down. Once you’ve done this a few times you’ll get into a rhythm, and the process becomes easier.
Also take a look at other homebrewing resources that are available. Having the appropriate knowledge will make this hobby that much more enjoyable.
I’ve created a Beginners Guide To All Grain Brewing Checklist that is an abbreviated version of this post. You can print it off and use it as a guide for your next brew day.
Download your guide right here for BIAB, MIAB with batch sparge, or MIAB with no sparge.
Cheers…
Leave a Reply