It’s well known that improving your grain crush can have a noticeable improvement in your mash efficiency. In turn, improving your mash efficiency can lead to a higher brewhouse efficiency.
Unfortunately, too many of us rely on the grain mills found at our local homebrew shop to crush our grains. While these grain mills provide a nice convenience to crush your newly purchased grains, they aren’t helping you achieve a higher efficiency.
I purchased the Cereal Killer Grain Mill months ago, and not only was I able to improve my efficiency, but it also helped me get a consistent efficiency brew after brew.
With this post, we’ll do a quick review of the Cereal Killer Grain Mill, and I’ll give you my impressions.
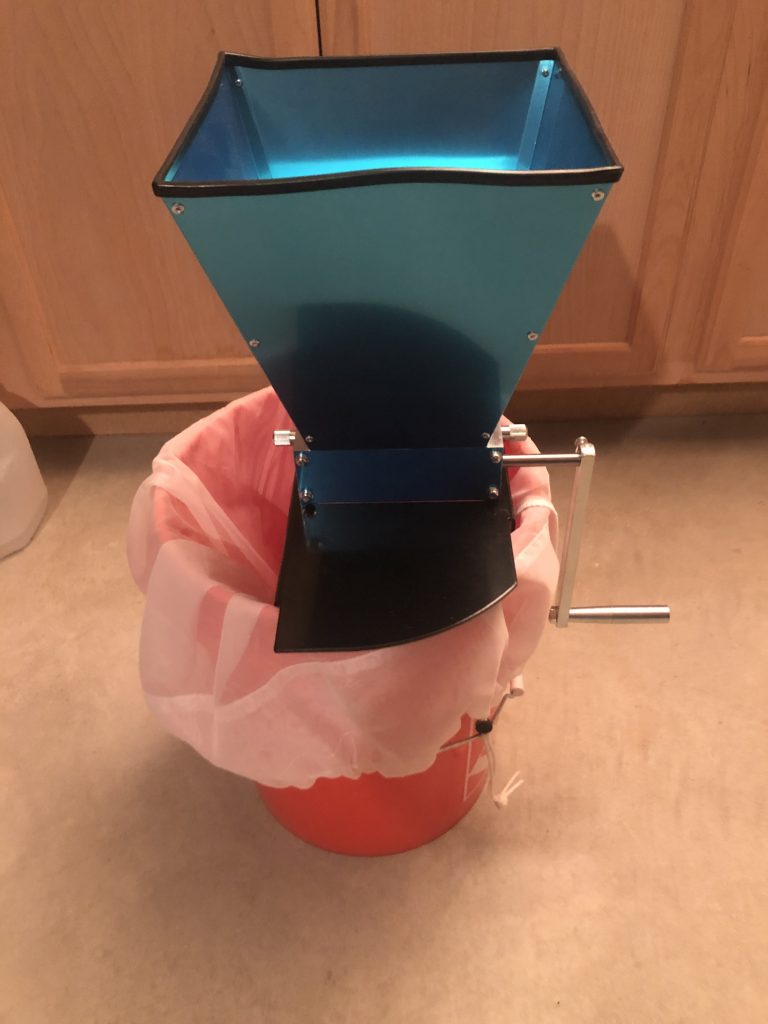
Grain Crush Problems
Improving your grain crush will not only improve your efficiency numbers, but can get you closer to achieving a consistent brew day.
The problem with relying on your local homebrew shops grain mill, is the inconsistent crush it provides. These shops need to cater to a wide range of brewers, and they all have different equipment they brew on. A crush that works well for one brewers equipment, doesn’t necessarily mean it will work well for your setup.
A quick comparison of a grain crush using a homebrew shops mill vs. the Cereal Killer Grain Mill tells a better story.
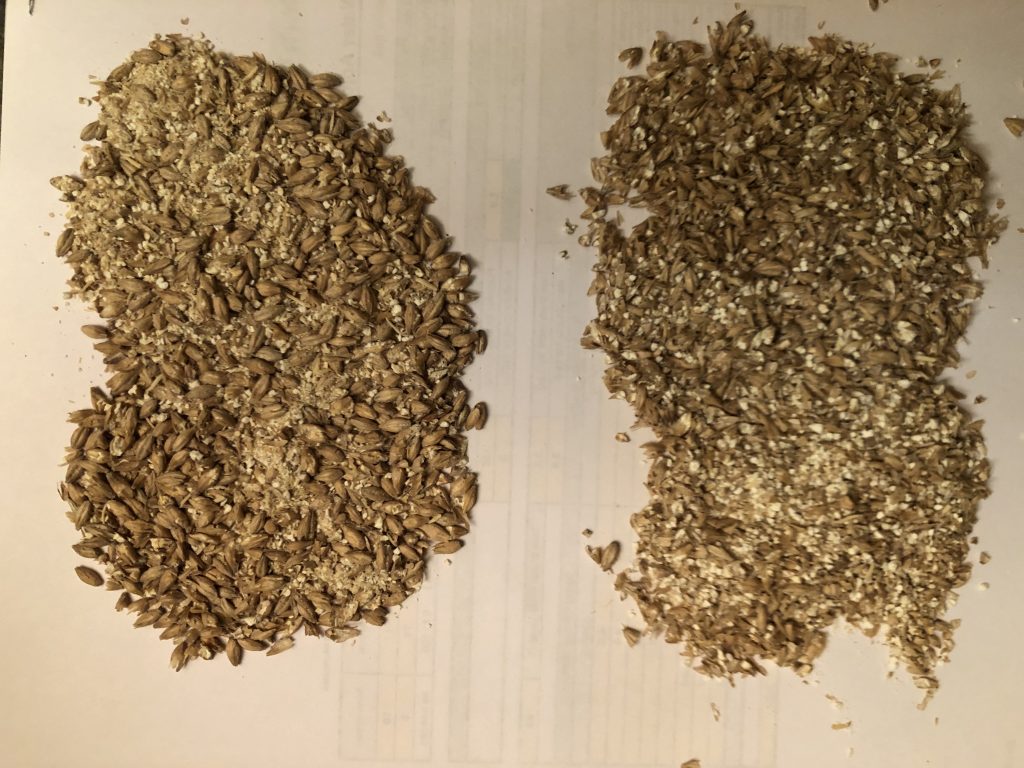
The grains on the left were crushed at the homebrew shop, while the grains on the right were crushed with the Cereal Killer using the gap setting as shipped.
So instead of using your homebrew shops mill, make a small investment and purchase your own grain mill. You’ll quickly see an improvement in your grain crush, gain a higher efficiency, and be able to buy grains in bulk that could potentially save you money.
Cereal Killer Grain Mill Review
The Cereal Killer Grain Mill can be purchased from Adventures in Homebrewing, and will set you back less than $100.
I ordered my Cereal Killer on a Monday, and had it by Thursday of that same week.
The first thing I noticed after unpacking, was the grain hopper was covered in a blue plastic film. I spent about 5 min. trying to peel this crap off before I said f’ it. I had no patience for that nonsense, and that shit isn’t coming off easily. At the end of the day, it’s not hurting anything, so I left it.
The grain mill itself had 3 parts:
- The base with the rollers that will crush the grains
- The bin or hopper where the uncrushed grains are feed
- A handle that attaches to the base to crush the grains
Assembly was very straight forward. Attach the hopper to the base with the two included screws, and slip the handle on the post. Took less than 5 minutes getting it all together.
After assembly, the first thing you’ll want to do is adjust the gap on the rollers. While using a feel gauge would make life easier, it’s not required.
Unfortunately there’s not a standard gap that everyone should be using, as it’s all based on the type of equipment you brew on. A gap that’s too close will result in a flour like crush that could lead to a stuck sparge (assuming you sparge). A gap that’s too wide will result in a poor crush that will impact your efficiency.
You’ll have to find the right setting that works for you.
In my case, I BIAB, so I’ve got my setting somewhat close. I used a standard credit card to set my gap, and it gives me the perfect crush for BIAB.
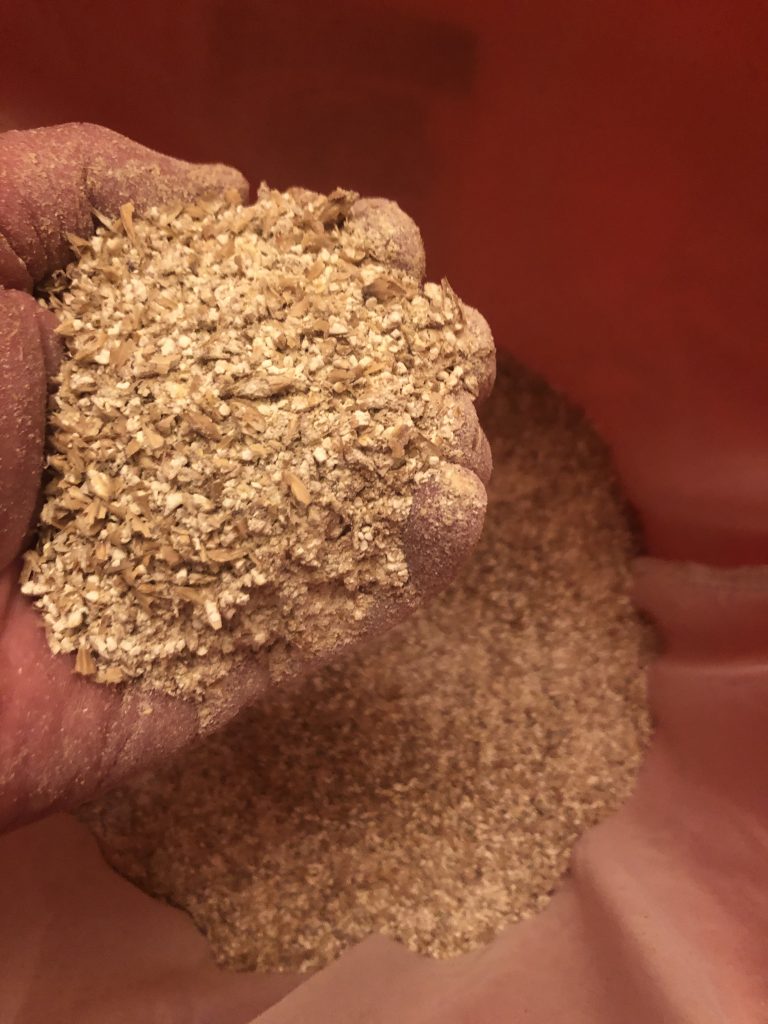
Once you’ve set the gap, you’re good to go. I personally would run a small batch of grain through the rollers in case there’s any residual oil hanging around from the manufacturing. I crushed a few ounces to get a feel for things, just to test it out.
Cereal Killer Observations
I immediately discovered that crushing grains with the included handle would be an absolute pain in the ass. It’s going to take you a while if you plan on crushing 10 lbs. of grain, and you’ll get a great arm workout as part of that process.
If you happen to have a cordless drill laying around, you can easily attach that to the handle post and crush that way.
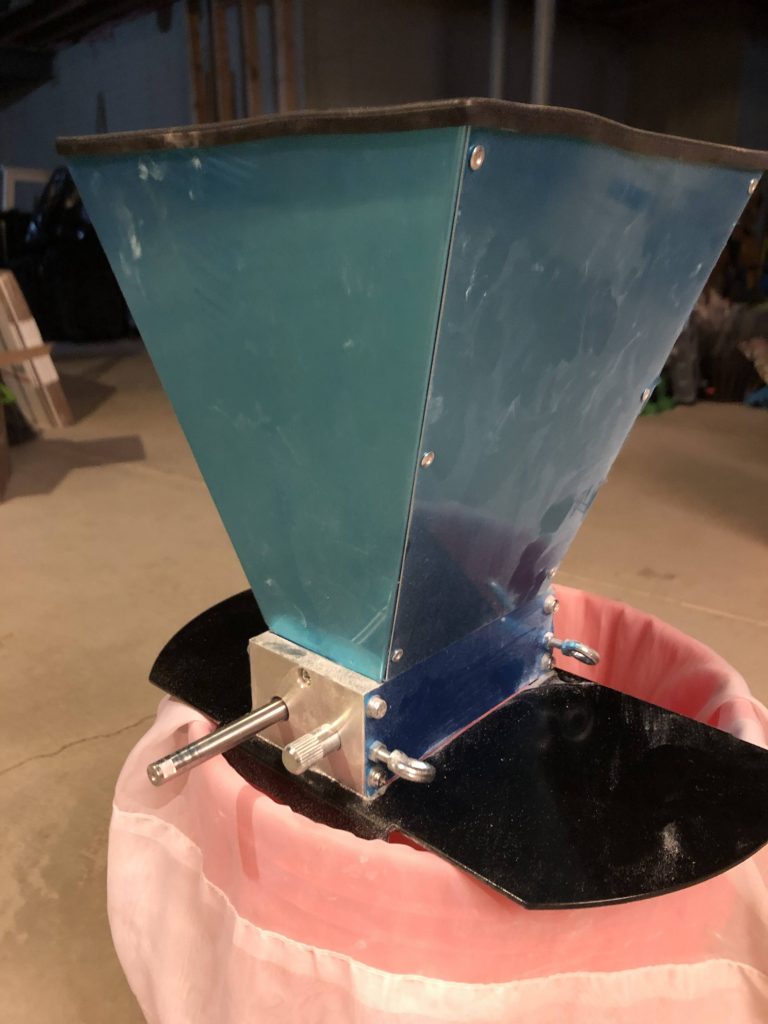
The hopper has an advertised 7 lbs. capacity, and that’s pretty accurate. If you happen to be crushing a large amount of grain you’ll have to split it. Not a big deal in my case, as most of my batches are smaller and can fit within that capacity. For my larger 5 gallon brews, it’s not a problem for me to crush in multiple batches.
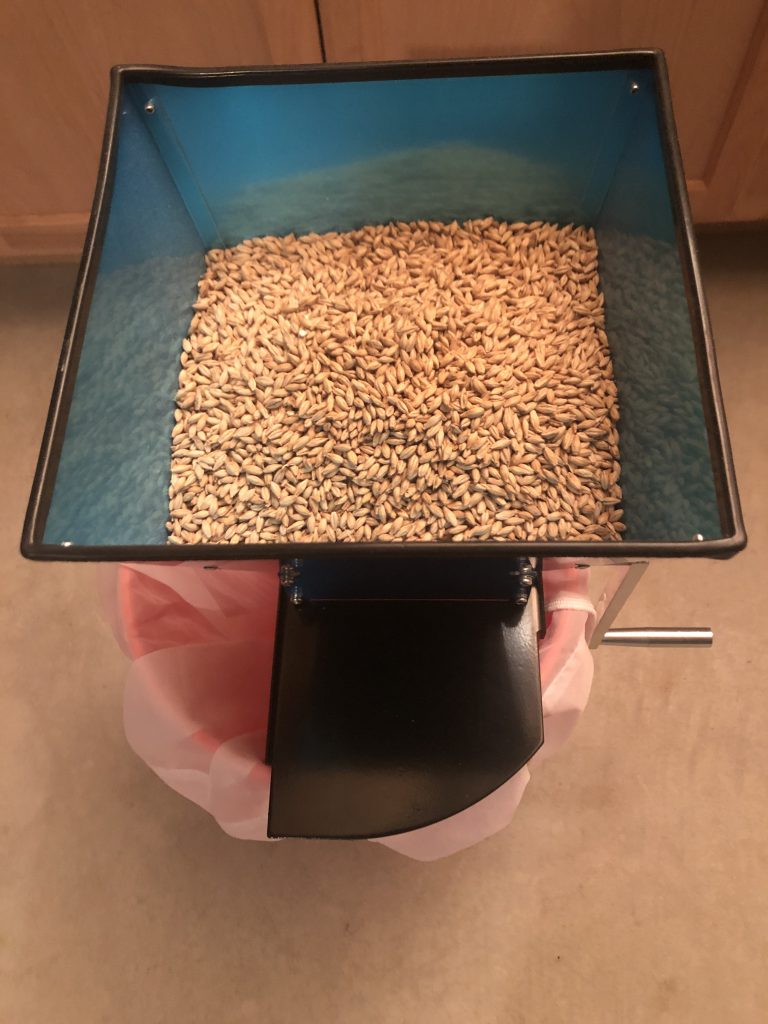
Crushing the full 7 lbs. capacity using a drill will take you less than 5 min. You could in theory crush faster using a higher speed on the drill, but I found I get a more consistent crush using slower speeds.
How has it help up? I’ve used this for 14 different batches so far, and haven’t had any problems. I check the gap on the rollers from time to time, and there hasn’t been a need to re-adjust them.
So was this worth the $100 investment? For me it was! The Cereal Killer Grain Mill gives me a consistent crush, leads to a higher mash efficiency, and a consistent brewhouse efficiency.
Let me know if this Cereal Killer Grain Mill review was helpful, or if you have any further questions.
Cheers…
Leave a Reply