Cooling your wort quickly after the boil has a number of benefits. While the obvious among those is being able to pitch your yeast quickly into wort that’s the proper temperature, there are in fact others to consider.
By cooling wort quickly with an immersion chiller, or other piece of hardware, you reduce the risk of contamination. While bacteria can’t live above 140 degrees Fahrenheit, the do love a luke warm temperature. So the quicker we can chill that wort to pitching temperatures, the quicker you can pitch your yeast and let them do their thing.
Lastly you have the cold break. You want to coagulate the proteins in the wort so they drop out of suspension creating a clearer wort. By cooling your wort quickly, you achieve just that.
The easiest way of cooling your wort is via an immersion chiller. And while there are numerous chillers to choose from, one of the newer ones on the market is from CuS.S Brewing.
This CuS.S Immersion Chiller review will focus on their Faucet Flow chiller, and how it’s performed for me over the last 6 months.
My Cooling History
When I first started homebrewing my go to method of cooling my batches was using an ice bath. This worked pretty well for my partial boil extract batches, and 1 gallon BIAB batches. It was however somewhat time consuming, and I wasn’t thrilled carrying a pot of near boiling wort to my utility tub for chilling.
Within 6 months or so after getting into this homebrewing hobby, I quickly realized I needed a way to chill my wort quicker. The ice bath method was easily adding an additional hour plus to my brew day, and I was looking for a way to expedite things.
I purchased an economy wort chiller for under $35 that I could hook up to a faucet on my utility sink. This allowed me to cool my wort in about half the time it was taking using the ice bath method, and was good enough to get me through the next year.

The problem with this economy chiller, was it was still taking 30 – 40 minutes to chill my wort, and it was wasting a boatload of water. Now I’m not sure this was really a problem with the chiller itself, as it could have been related to the inadequate water supply coming from the utility faucet.
It was at this time that I was upgrading my brewery with an eBIAB setup in my basement. As part of this upgrade, I installed a new utility sink, and added a spigot to the plumbing line that I could connect an immersion chiller to. This should in theory improve the water flow.
Since I was upgrading all my brew gear, I decided this was as good as a time as any to get a better immersion chiller.
CuS.S Immersion Chiller Review
As previously mentioned, this review of the CuS.S Immersion Chiller is based on their Faucet Flow model.
Since I was limited with my plumbing options in the basement and tied to a utility sink, The Faucet Flow was the perfect option.
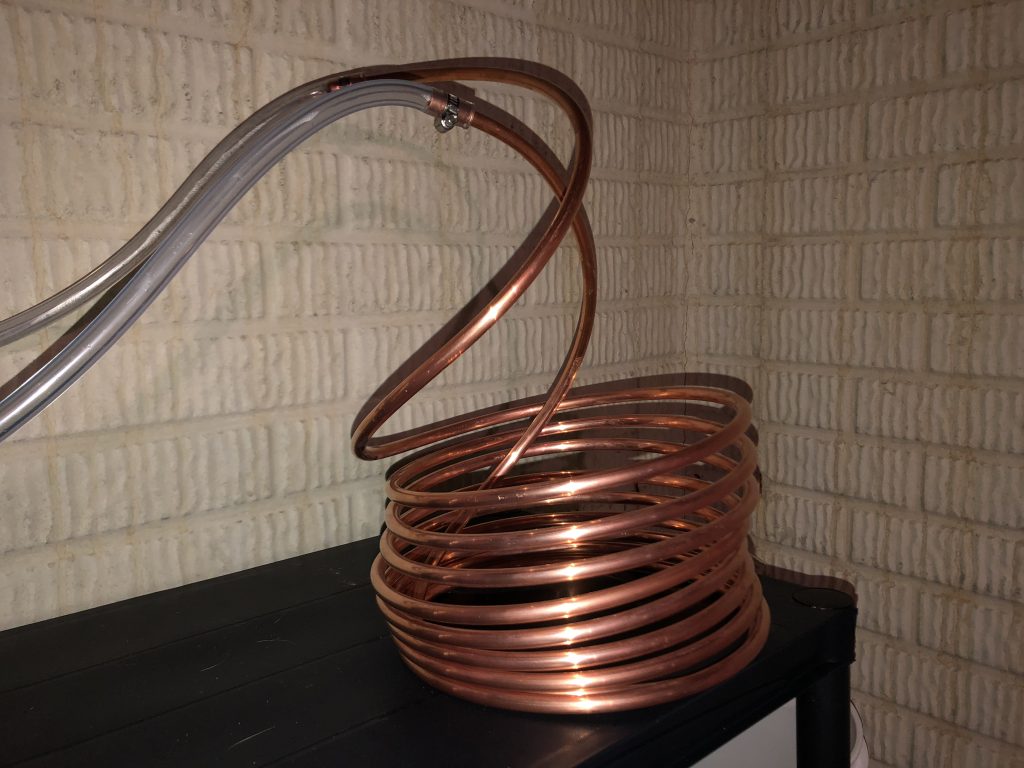
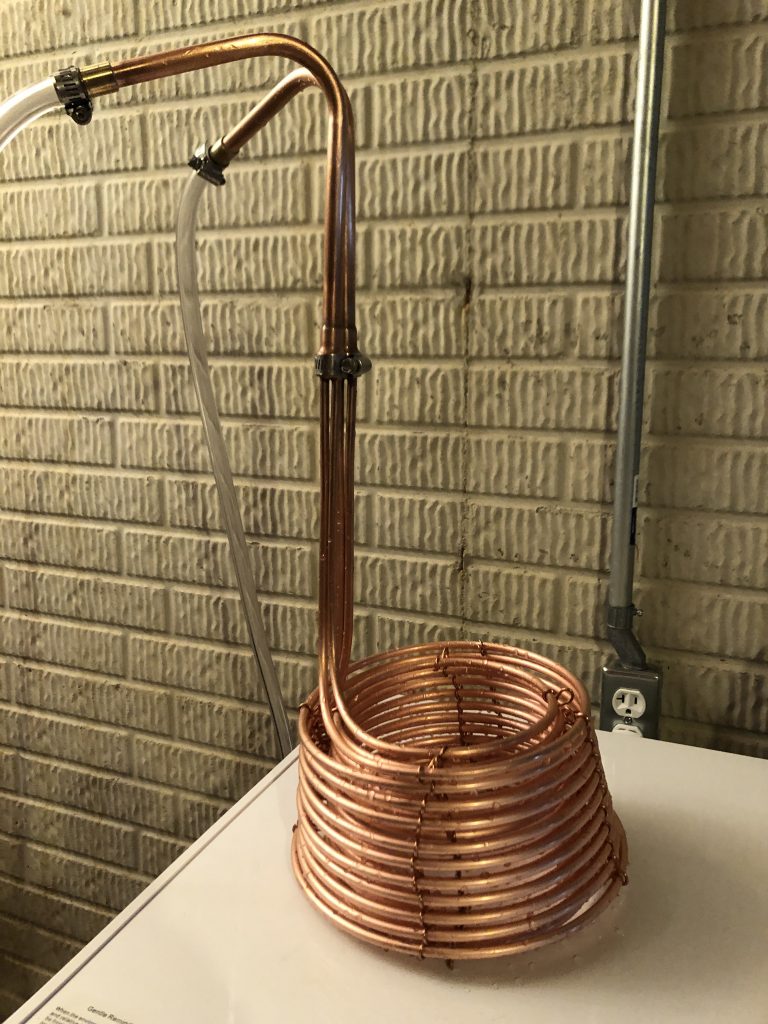
The Faucet Flow was similar in design to my old economy immersion chiller, but had a few major upgrades.
- There were two 25′ copper coils intertwined instead of the one coil with my economy chiller
- The neck height was considerably longer than the economy chiller, and would work with my new 10 gallon electric kettle

The description of the CuS.S Faucet Flow states:
Specifically designed for low flow rates, the FaucetFlow is perfect for anyone who is using a sink faucet for their chilling water source.
— CuS.S Brewing
The spec sheet for the Faucet Flow states you can chill a 5 gallon batch in 7 minutes (10 degrees above tap water temperature). Not only should this chill my batches in a fraction of the time it took my old economy chiller, I’ll also be able to save on wasted water.
So does the performance of the CuS.S Faucet flow measure up to the stated specs?
The Results
We set out to review the CuS.S Immersion Chiller, so what are the results?
I’ve used the CuS.S Faucet Flow in at least a dozen brew days, and I’m happy to report it’s living up to its expectations. It doesn’t get me to the specs as advertised, but it is a pretty considerable improvement over my old economy chiller.

Here’s a few timings from two different batches that I recently brewed:
Schwarzbier
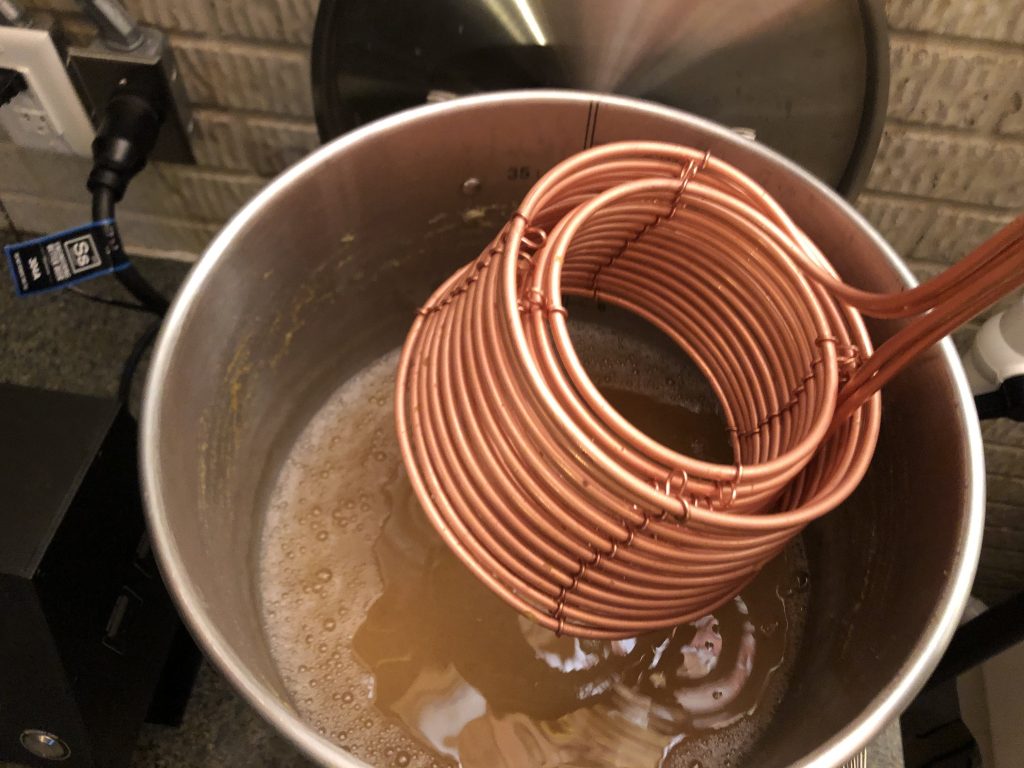
This was a 3.25 gallon batch that went from a full boil to 74 degrees Fahrenheit in 10 minutes.
- 208 degree starting temperature (after killing element)
- 138 degrees after just 3 min. of cooling
- 97 degrees after 6 min. of cooling
- 74 degrees after 10 min.
Lazy Hazy IPA
A 3.5 gallon batch that required a hop whirlpool. It took 2 min. to get to 180 degrees Fahrenheit for my whirlpool. After a 30 min whirlpool rest, I let the temperature drop during this time, the wort was at 145 degrees. Once cooling commenced, it took another 10 minutes to get to 70 degrees Fahrenheit.
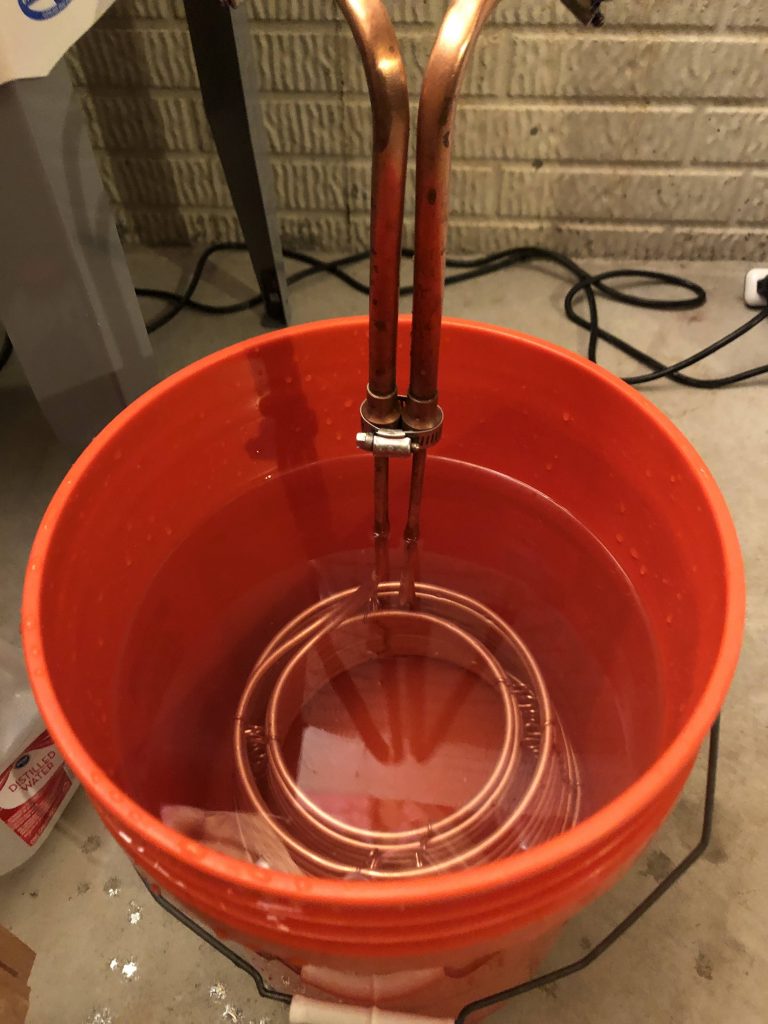
Clean up couldn’t be easier. I capture the first 4+ gallons of waste water, which is nice and hot, in a 5 gallon bucket. After I’ve cooled my wort, I do a quick rinse in the sink to get most of the gunk off, and submerge it in the 5 gallon bucket for a cleaning soak.

Observations
A few observations with the Faucet Flow.
Cooling is very fast until your wort gets to about 20 – 25 degrees above ground water temp. At this time the cooling capabilities slow down considerably. I can easily get to these temps in under 10 minutes.
Lately I’ve been cooling until the wort gets to about 75 degrees Fahrenheit. After I rack to my fermenter, I’ll let my fermentation chamber do the rest of the work until I’m ready to pitch my yeast.
Getting to 10 degrees about ground water temperature takes much longer than the 7 minutes as advertised. I’m on a well, where the ground water temperature can easily be in the mid-50’s in the dead of winter. In order to meet the advertised specs, it would take 7 minutes for the Faucet Flow to cool my wort to the mid 60’s.
That isn’t happening! There has been cases where I’ve cooled my wort to the low 70’s, which is about 15 degrees about ground water temp, and that has been taking me about 20 minutes.
Am I happy with my purchase, and is it worth the $99 I paid?
For sure. The cooling time is considerably faster than my old economy chiller, and miles ahead of an ice bath. Granted I’m not cooling to the 10 degree above ground water temperature, but that’s not a deal breaker for me. I’m cooling my wort to the point I can rack to my fermenter in 10 minutes. This is a considerable time savings for me, and allows to move onto other things.
Cheers…
Leave a Reply