I’ve only been brewing just over a year, but I’m already frustrated at the amount of time it takes to heat / boil on my kitchen stove setup. Given that, I’m stuck doing small batch brews, as it would be impossible getting a rolling boil on a full 5 gallon batch.
As luck would have it, my brewing was relegated to the basement once we had granite countertops installed in the kitchen earlier this spring. Who knew StarSan had the ability to stain formica, and I wasn’t about to experiment on my wife’s new granite.
Given this opportunity, I created a small brew cave in my unfinished basement, which gave me the opportunity to make the leap to electric BIAB brewing.
As I recently finished the electrical and plumbing work on my basement, I put my plan in motion and purchased the SS Brewtech 1V eBrewing system.
SS Brewtech 1V eBrewing System Review
I chose the SS Brewtech 1V eBrewing System as I wanted the simplicity of a BIAB setup.
I also looked at a number of all in one eBrewing systems. These included the GrainFather, RoboBrew, Anvil Foundry, Brewer’s Edge Mash & Boil, and a few others. At the end of the day, I kept coming back to the SS Brewtech 1V eBrewing system. I didn’t want to deal with sparging or the 110v power that most of these systems had.
I’ve recently brewed two different batches of beer using my new setup, and thought it would be helpful to do a review based upon my experience so far with the SS Brewtech 1V eBrewing System.
What Is The SS Brewtech 1V eBrewing System
The SS Brewtech 1V eBrewing System is just as it sounds, an electronic brewing system. It’s made up of two components:
- An eKettle with a heating element
- An eController that controls the heating element
It’s a fairly interesting design that lets you do eBIAB, or insert a HLT or Boil Kettle into your existing 3 tier setup. I went the eBIAB route for the sake of simplicity.
The heart of the eKettle is a halo type heating element that produces a whopping 5500 Watts. A temperature probe is integrated into the heating element base, so you can do away with having to add a separate thermometer.
The eKettle also includes the standard features you would expect from a standard SS Brewtech kettle; 1.5″ TC ball valve port with their patented trub dam, a second 1.5″ TC accessory port, and 304 stainless steel with welded fittings.
The second piece of the eBrewing system is the eController. This controller connects to the halo heating element and temperature probe in the kettle.
The eController allows you to adjust between automated and manual settings to control your heat. In automated mode, you set the temperature you want to maintain, ideal for your mash, and the controller holds that temperature. In manual mode, you control the power percentage you want sent to the heating element. This is ideal to generate and maintain a rolling boil.
I should mention this runs off a 240v outlet and needs a dedicated 30 amp circuit. So if you are running 110v/120v, you’re out of luck.
Initial Set Up
I received two boxes from SS Brewtech less then a week after placing my order.
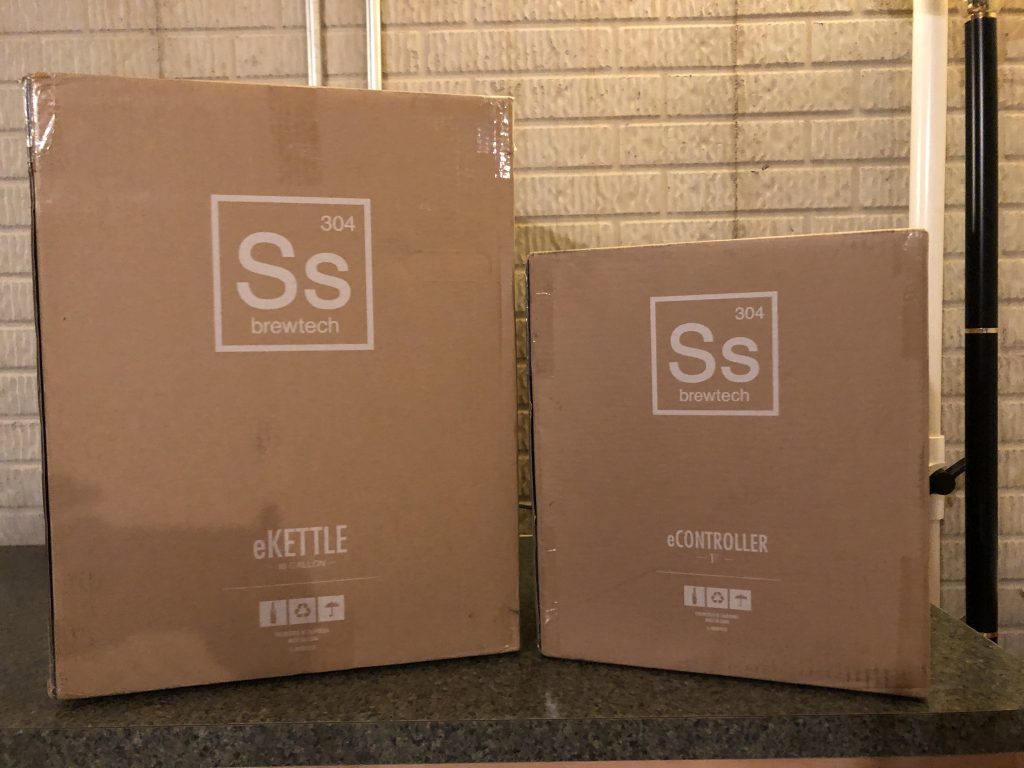
Given this was my first real brew kettle, and one that had tri-clamp fittings, I wasn’t really sure what I was in for. Before unboxing, I downloaded the Quick Start guides from the SS Brewtech website. What was impressive was they sent me an email with these links after I placed my order. I could familiarize myself with my new equipment before it was even shipped.
The first box included the 10 gallon eKettle, halo heating element, and the various tri-clamp fittings. Set up was a breeze using the quick start guides I previously downloaded.
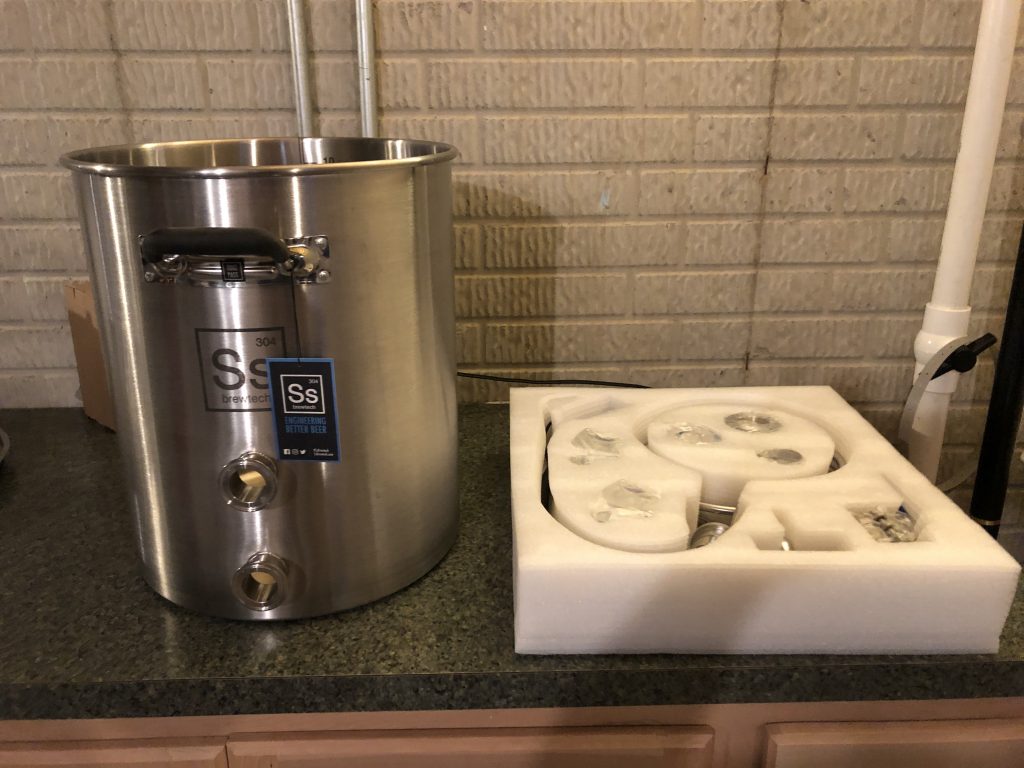
The second box included the eController. The eController consists of the actual control unit, with four attached cords. Two of the cords plug into your outlets, one being the 220v and another for a 110v. The 110v outlet powers the two accessory plugs on the side of the eController. These accessory plugs can be used to power pretty much anything. The second two cords plug into the halo heating element from the kettle. The first cord is for the power, and the second for the temperature probe.
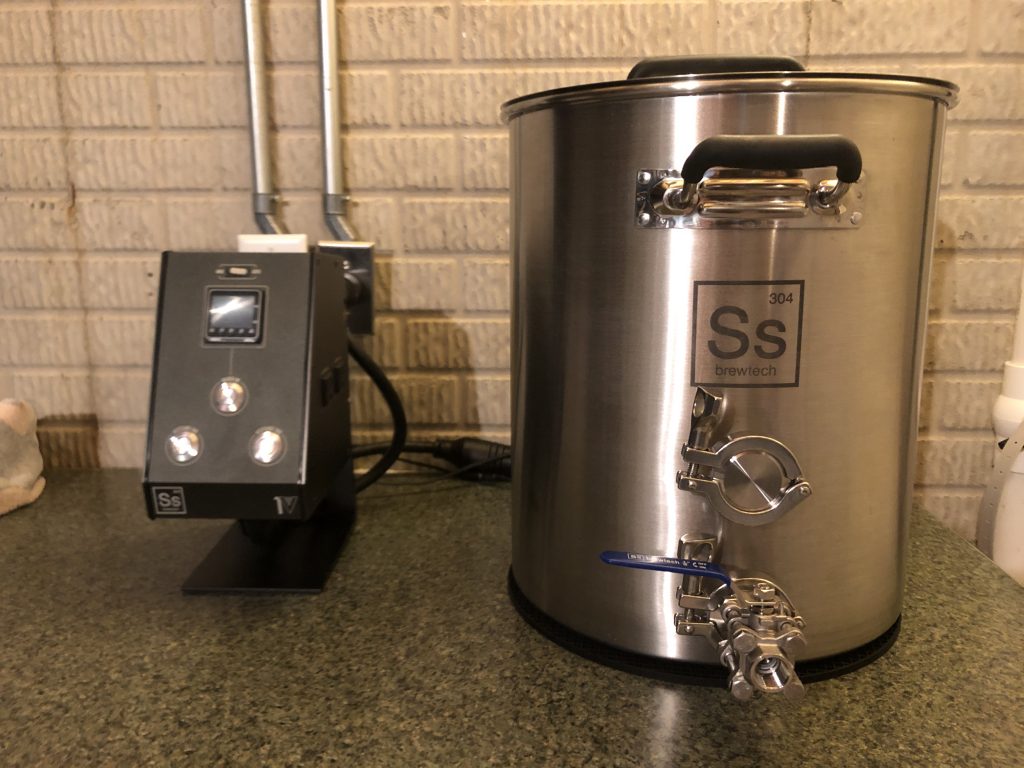
I will mention the length of the power cord could be a bit longer. You’ll want to ensure the eController is within a foot of your outlet.
I ended up ordering a few optional accessories with my order:
- eKettle – Silicone Mat
- eKettle – Essential Kit
The silicone mat is placed under your eKettle to protect your counter top from the heat, as well as provide a non-slip surface. What was odd was I ended up receiving two of these silicone mat’s with my order. Strange given that this is not included with the 1v system, and it’s listed on their site as an accessory.
The Essential Kit comes with everything you need to be able to rack your wort into the fermenter. It includes:
- 1/2″ hose barb with an MPT (male pipe threaded) connection, which screws into the ball valve port of the eKettle
- 5′ of 1/2″ ID silicone tubing
- 2 hose clamps
After a quick cleaning with TSP and passivating the stainless steel, I was ready for a test run and leak test.
Doing The Test Run
I started by filling the kettle with 7 gallons of tap water. Given this time of the year, the water temp was in the mid to upper 60’s.
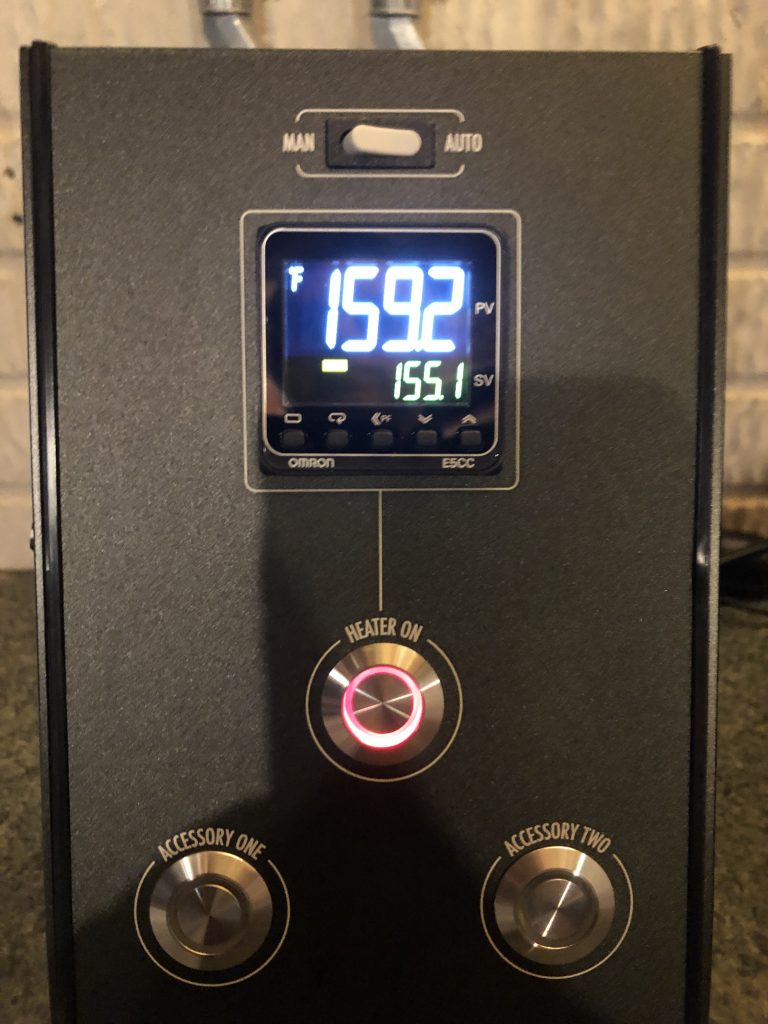
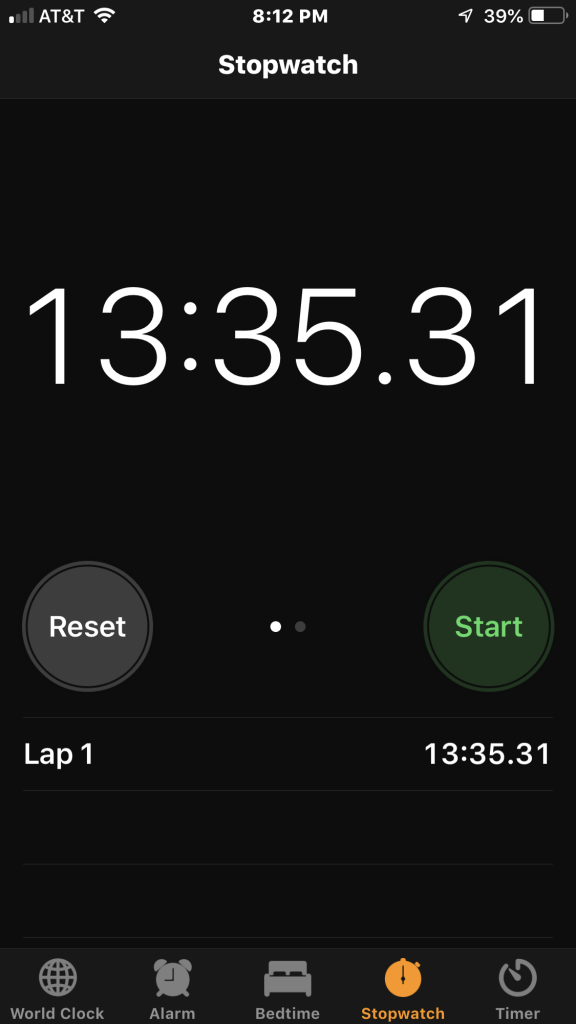
After ensuring there was no leaks, I powered the controller on, flipped the toggle switch over to automatic, and set the temperature value to 155.1 degrees. 13 minutes later, my 7 gallons of water was sitting at 159 degrees, 4 degrees over my set value. We’ll talk more about that later.
I was interested in seeing how long it would take to bring my mash temp up to a full boil. After flipping the toggle switch to manual mode, and setting the power setting to 100%, I powered up the element. 10 minutes later, I had myself a nice rolling boil. Once I had a boil, I dropped the power down to 75% to see how it would maintain a boil.
I believe things were now ready for my first eBIAB brew day, using the SS Brewtech 1V eBrewing system.
Brew Day Observations
I’ve successfully brewed two batches of beer on my SS Brewtech 1V eBrewing system. To give you a perspective on how the system worked, I’ll walk through the key points of the first brew day along with some additional observations from the second.
The first brew using the new setup was a 5.25 gallon batch for a Blonde Ale. This grist that made up this batch weighed in at 10.5 lbs. and used just over 7.5 gallons of water. Pretty good capacity test for the new setup.
Given I brew a number of small batches, the second brew day put that to the test. A 3.25 gallon Vienna Lager was the next up, which consisted of a mere 7.5 lbs. of grain and just under 5 gallons of water.
Mashing
I started the day by adding my 7+ gallons of distilled water to the kettle with the appropriate water adjustments.
Powering up the controller, I flipped the toggle switch to automatic, set the temperature value to 155 degrees, and pushed the power button for the heating element. In under 15 minutes my water was at my strike temperature. At this point, I powered down the heating element and got ready to add my grains.
The actual temperature overshot my set value by a few degrees, it was actually closer to 157 degrees. I’m seeing a theme here.
While the water was heating, I added my grains directly to my new Wilserbrewer Brew Bag. The bag, with all the grains, was then added directly to the kettle. I lowered the temperature setting on the eController to 149.5 degrees, powered the heating element back up and gave the mash a good stir.
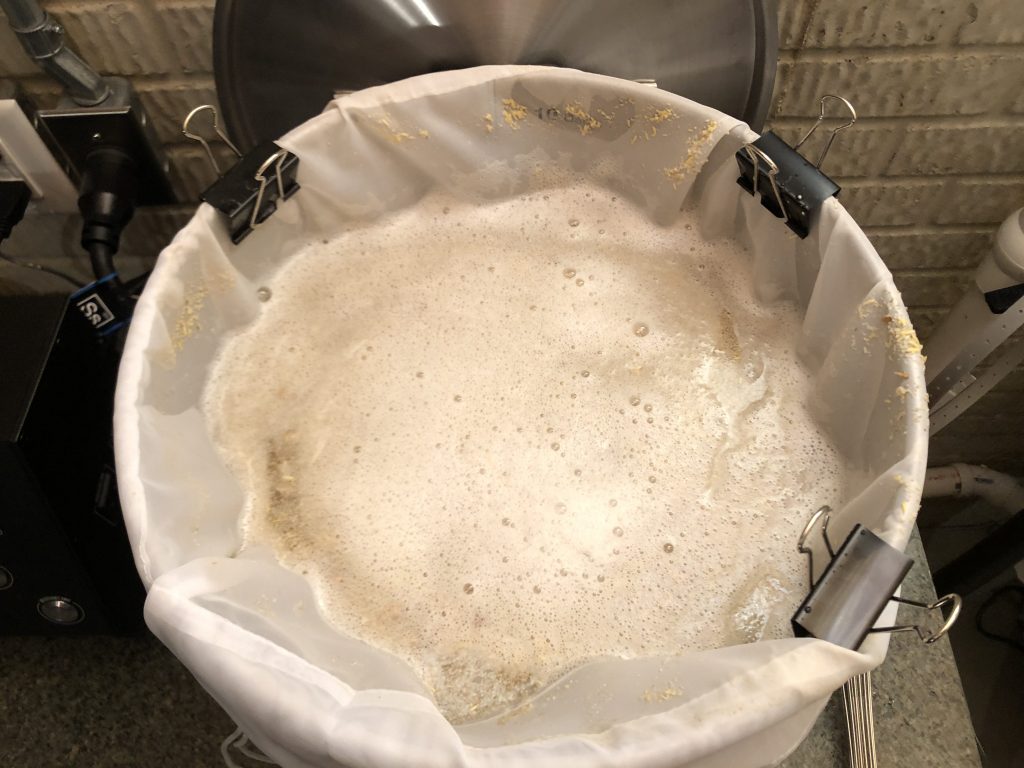
The bag was resting directly on the heating element, which I was assured would not cause any problems with scorching the bag. After two brew days, I can confirm there’s no signs of scorching/burning.
Observations: The one issue I did have during the mash was trying to maintain my set mash temperature.
After mashing in, the heating element seemed to kick on prior to my set temp being hit. For example, my set temp was at 150, but I could hear the element fire at about 152. This resulted in the mash temp being higher then what I desired. I solved this by backing the mash temp setting off by 3 degrees (147 for a 150 degree mash)
I ended up shutting the heating element off to get the temp to drop down to my target mash temp. After a short period of time, the temp dropped from 152 to 148 degrees.
I reset the mash temp to 149.5 after giving the mash a good stir, covered and checked back in 20 min. The temperature seemed like it stabilized at my 149.5 degrees.
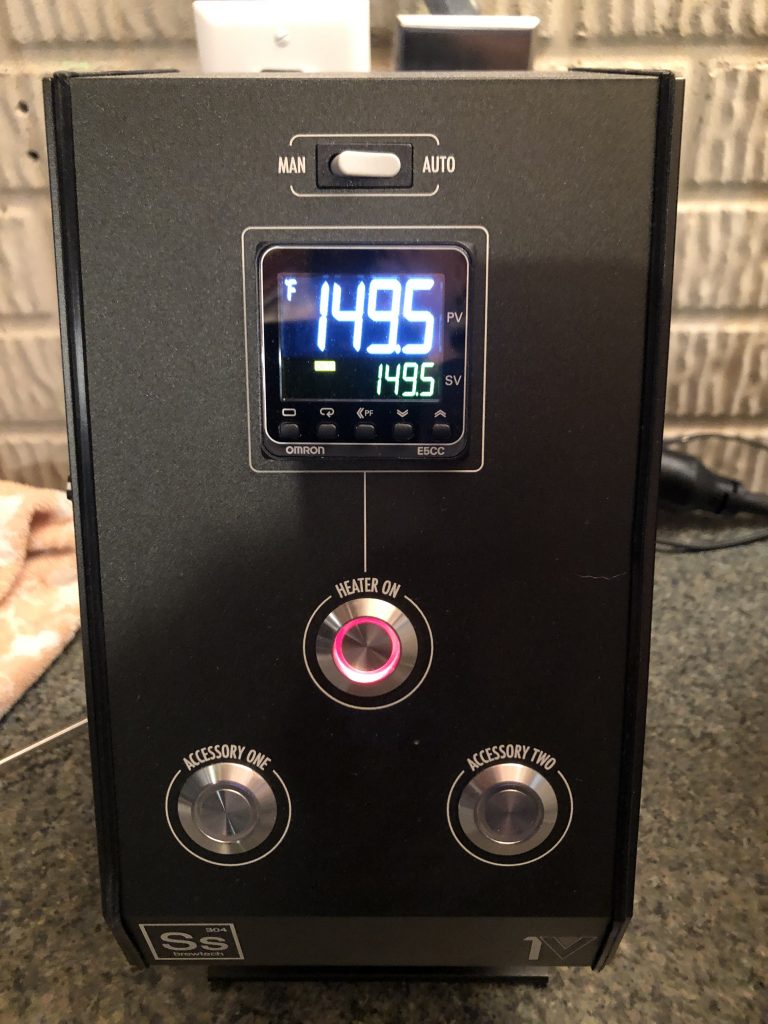
I had the same experience during my second brew day. It’s going to take a bit more testing to see if this is user error, or a problem with the controller maintaining the right temperature. My hunch is the brew bag is resting on the temperature probe and throwing the reading off.
Boiling
After hoisting the grain bag out and letting it drain for a bit, I was ready for the boil.
Absolutely no issues here, and I was blown away on how quickly I could boil 7+ gallons of sweet wort.
I flipped the eController setting over to manual, and adjusted the heating power to 100%. Less than 15 minutes later, the temperature passed 200 degrees and I started seeing signs of a mild boil. At this point, being somewhat cautious of a boil over, I lowered the power to 85% and waited for the full boil to begin.
Once we had a full rolling boil, I backed the power off to 70%, and added my hop additions.
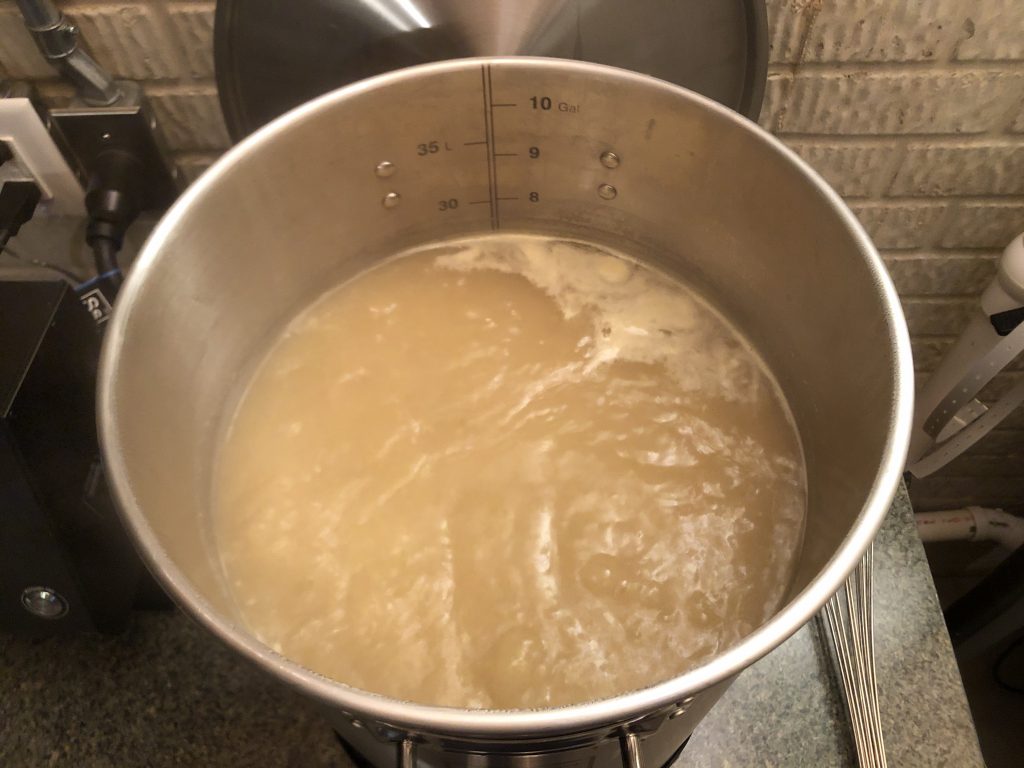
Observations: This thing heats fast and will boil hard. If I hadn’t been watching closely, I would have had a boil over. Keeping the power at 70% produced a nice rolling boil, just enough for me. My boil off rate was just over 1 gallon/hour at this setting (perfect).
After an hour of boiling, I was at my post-boil volume and preceded with cooling the wort.
Racking
I was excited to see how easy it was going to be racking wort into the fermenter. No more lifting the kettle and pouring things through a funnel. Even though I was relegated to small batches, this was still a pain in the ass.
After sanitizing the ball port valve, threaded hose barb, and silicon tubing that came with the eKettle Essential Kit, I was ready to start racking. I screwed in the threaded hose barb to the ball port valve, attached the tubing (without the hose clamps), opened up the valve and had wort flowing to my fermenter.
Observations: I no longer have to worry about dumping wort all over the place, this made racking so easy. You really don’t need the hose clamps that came with the kit. The tubing fit snug enough on the hose barb that I wasn’t worried about it shooting off.
Cleaning
I saved off 2 – 3 gallons of hot water from the wort chiller, and used that to clean the vessel at the end of the brew day. Poured a gallon of water into the kettle, used a sponge to give a good wipe down, including the heating element, and dumped it out. Repeated that process with some PBW, flushed the ball lock, gave a good rinse and I’m good to go for the next batch. Took maybe 15 min. tops to clean up.
I’ll probably take apart the heating element every few batches to ensure it gets a thorough cleaning. By the looks of things that’s not needed after every brew day.
Final Thoughts on the SS Brewtech 1V eBrewing System
Was the SS Brewtech 1V eBrewing System worth the $900 cost? For me the simple answer is yes.
It gets me out of the kitchen, which makes my wife happy. The alternative was going with a propane setup outside, which wasn’t an option for me in the winter month’s. I could have gone with a cheaper all-in-one electric system, but that wasn’t going to save me a whole lot of time with heating or boiling using a 110v setup.
This 1V eBrewing System checked all the boxes for me, and I love the simplicity of the eBIAB setup.
With that said, there’s a few things that I need to sort out. I’m somewhat troubled with the temperature control during the mash. I’ll play around with the bag placement on the heating element, and see if that makes a difference in the temperature readings.
Other then that I’m a happy customer, and looking forward to my next brew day.
Bonus: If your an active duty military person, or a veteran of the U.S. Armed Services, SS Brewtech will knock 10% off your order.
Very timely for me, as I’ve been looking at the SS Brewtech 1V system for a bit now. Been trying to hold off for their all in one system, but not sure that’s ever going to happen. Have you been able to figure out the controller and mash temperature settings? Are you still happy with your purchase?
I’m very happy with this purchase. What I’ve found works best for the mash is to simply kill the heating element. Once the water hits my strike temp, I power down the element and add the grain bag. I end up hitting the mash with some heat for a few seconds once the temp drops down past my mash temp. Works well for me.
I have been having the same issues with my controller not holding or hitting the temperature correctly. Are you still turning the element off completely and not using it to hold the mash temperature?
Also I’ve found in the set temperature it takes longer for it to heat the water than in the manual mode at 100%. That isn’t how a PID is supposed to work as far as I know.
I’ve been playing around with different things during the mash to try and hold my mash temp. What I found works best is just shutting off the heating element once I hit my strike temp. I mash in, stir the crap out of it, put the lid back on and just let it set. I’ll check on things after 20 – 30 min, give it another good stir, and hit it with some addition heat if required. I’ve found it holds my mash temp pretty good through the first 20 min, which is really what I’m concerned about.
I haven’t really compared heating times with the manual vs auto setting. I use the auto setting for the mash, and switch to manual mode for the boil. Set it at 100% to get my boil going and drop it down to 70% for the remainder of the boil.
Are you still having issues with the controller holding temp? Is there not a way to autotune the controller?
I’ve been able to resolve it for the most part, it’s still not perfect but it’s a lot better. If you have access to the SS Brewtech User Group on Facebook, there’s a couple of posts that speak to doing an autotune. For the life of me I can’t figure out why SS Brewtech wouldn’t have tuned these things so they are a bit more accurate. Here’s the basics from one of the FB posts:
Press the left button once then the key next to it once to show AT Off is displayed. Press up key once till AT-2 is displayed then wait 3 secs. Press left key again and it will autotune to the best settings. Usually takes 5 mins.
Word of warning, my setup was a bit more complicated for some reason. I ended up having to dig through the Omron manual as I couldn’t get one of the above settings to show. It turned out I had to switch some other setting on or off to get the autotune to execute. Took me hours to sort through. Hopefully it will be easier for you.
Dumb question: does the cable unhook from the heating element? I would hate having to lug a power cord attached to the kettle when trying to move/clean/dump/etc.
It’s actually a good question. Yes you can unhook the cable, but it’s not as easy as you would think. The heating element’s power cord is fed through the kettle and that assembly is attached with a lock nut. So if you have liquid in the kettle, you’re not disconnecting the power cord. You are spot on with your observation. If you want to move the kettle and do clean up, the power cord is going to be dangling.
I actually don’t find this to be too much of a problem, so it’s not as bad as you may think.